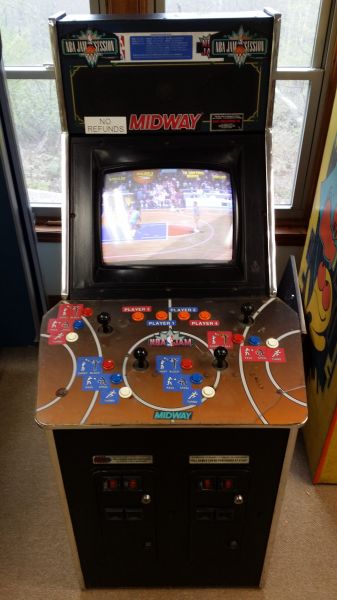
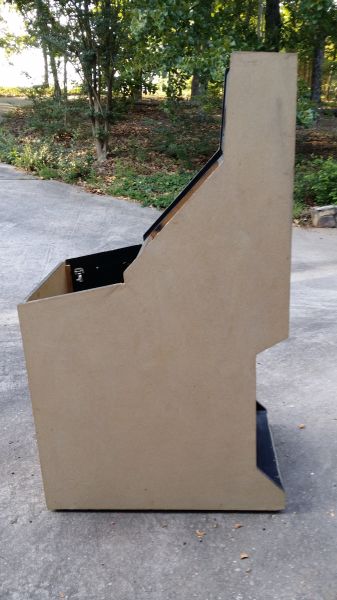
This is the Nba Jams cab that I got from Doodlesdaddy Wharehouse raid for $125. Turns out it was an Atari Gauntlet cab. It’s in really good condition so I’ve decided to restore it. This is what it looks like now :


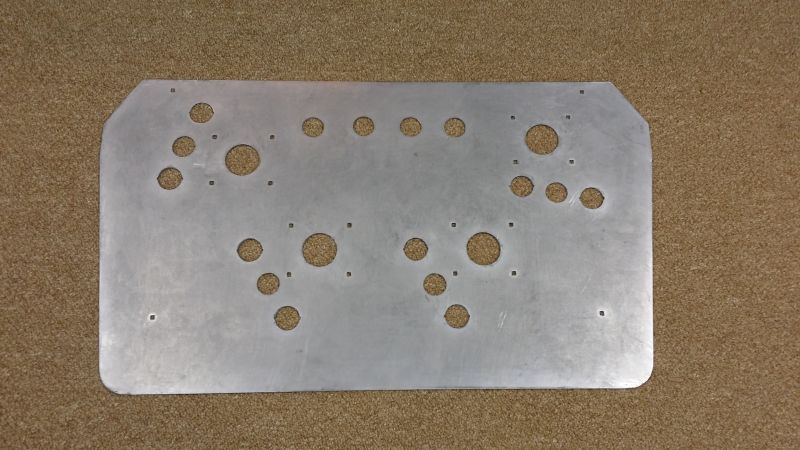
The CPO was under the NBA Jams Cpo but with that extra hole by every joystick, it just could not be saved.
And here is what was under the stickers on the marquee :

Unfortunately it’s faded so I have to replace it also.
So I got to work and stripped down this baby. Took off the CP. All the buttons/joysticks were soldered in.
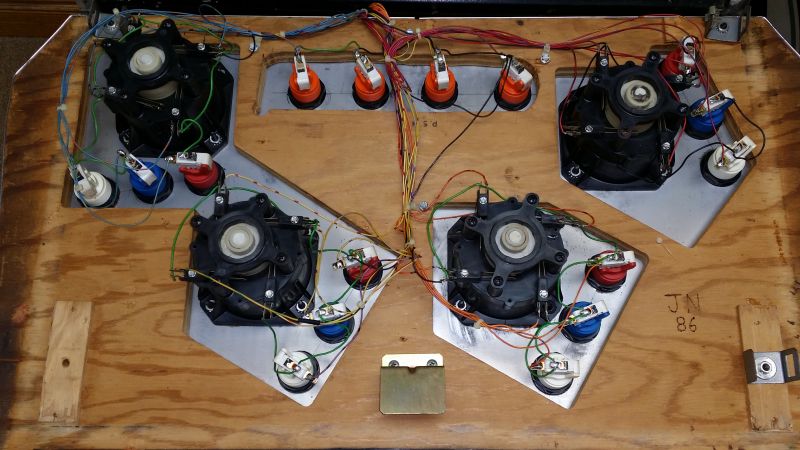
But I got it off and then stripped it down :
Next, I took off the marquee and stripped it down :

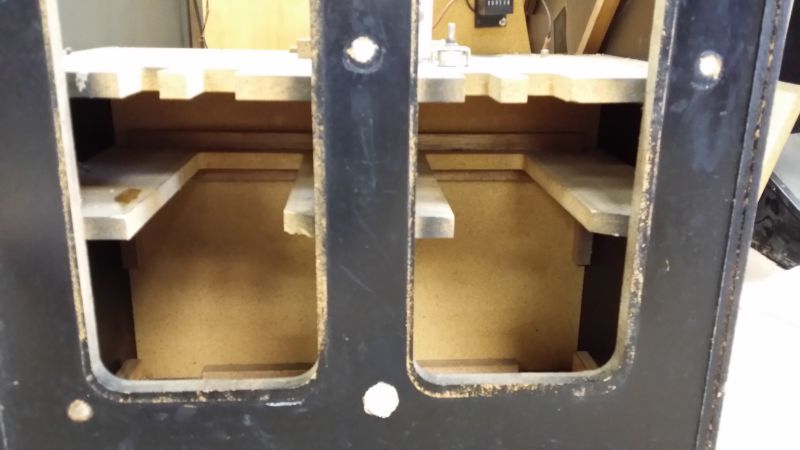
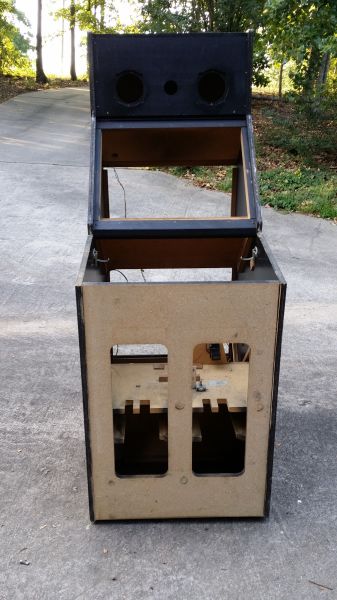
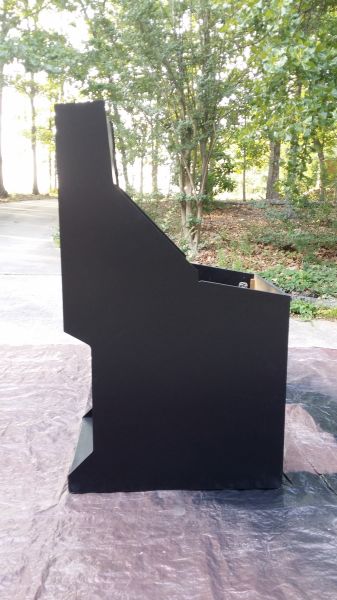
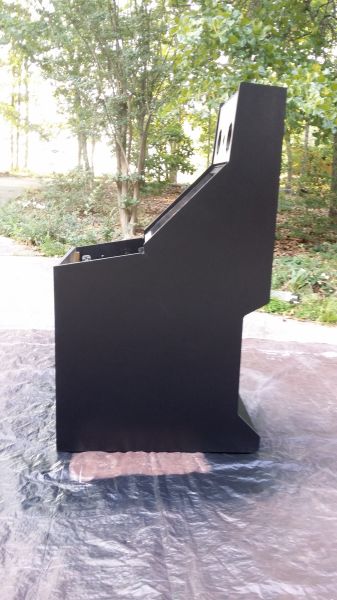
Then I took off the bezel and took out the monitor. Then I took off all the stickers and moldings. Then I removed all the wiring, pcb’s, power supply, and speakers. And here is my naked gauntlet. :

I didn’t take off the coin doors yet. The bottom locks are tumbler locks and I’m having one heck of a time drilling them. I will buy some carbide bits and attack them tomorrow.
So I finally got the coin doors off. Cobalt drill bit and 30 minutes of drilling. Yay !!
Didn’t realize that everything but the coin reject button is metal on these. No plastic parts here!
I’m going to powder coat the coin doors, but I hate using chemical paint stripper. It’s a mess, it burns and it’s very environmentally unfriendly. So I stopped into Harbor Freight and bought a blast cabinet.
Took me about 3 hours to put it together. Hooked it up to my little air compressor and sandblasted some of the smaller parts. They look good but the small air compressor just doesn’t cut it. So I will have to put the cabinet in my basement work area where my large compressor is. But it’s so much nicer black diamond blasting than chemically stripping. It literally takes 2 minutes to do a part that would take 30 minutes with 2 coats of stripper.
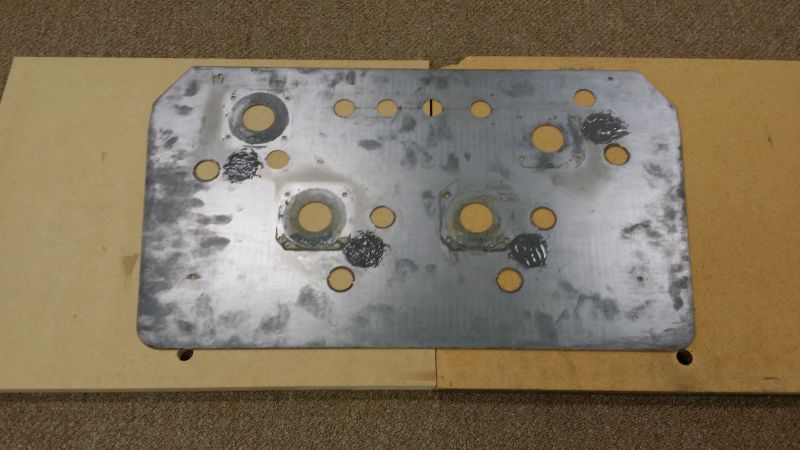
First of all the front panel had holes in it I think from coin door security bars :

So I bought some 1/2″ wooden dowels and cut them off 3/4″ long. Then I drilled out the holes to 7/16″, put wood glue on the dowel piece, and tamped them into the holes. The bottom right hole was wallowed out so I had to use a 1″ dowel.
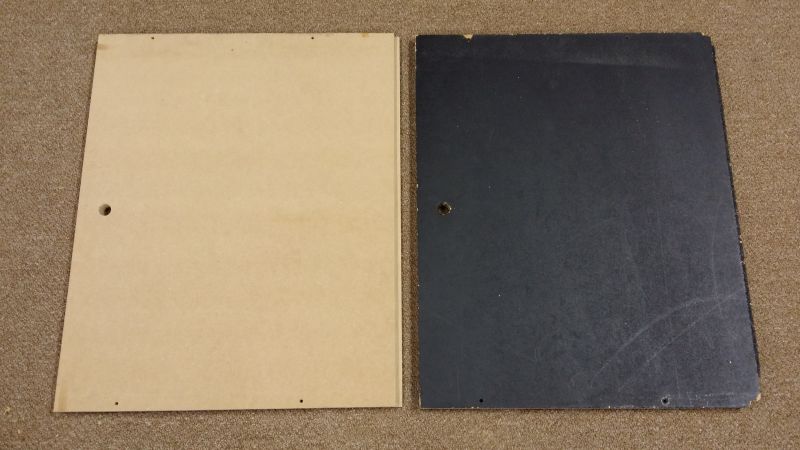
Next, the upper rear door was a mess:

So I bought a piece of 3/4″ Mdf and cut it to size, added the lock hole and the 4 screw holes.
Then I took the cab outside and belt sanded all that paint off :
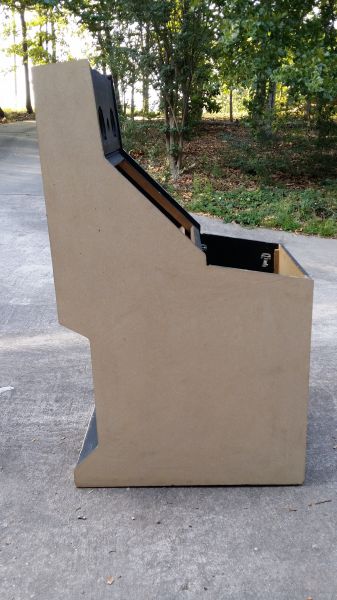
Then I wiped the whole cab down inside and out. Tomorrow I will Bondo the dowel holes smooth and then prime this thing
Also, I worked with my sandblaster and got most of my coin doors and parts sandblasted.
Before :

After :

Then I applied Bondo , sanded and primed the cab :


Got the coin doors and parts powder coated today. I had to buy a $75 cheapo oven and put it downstairs. The coin doors were 21″ long and my pizza oven was only 13″. So I got a used oven that is 22″ inside. A couple of hours later here’s what I got :
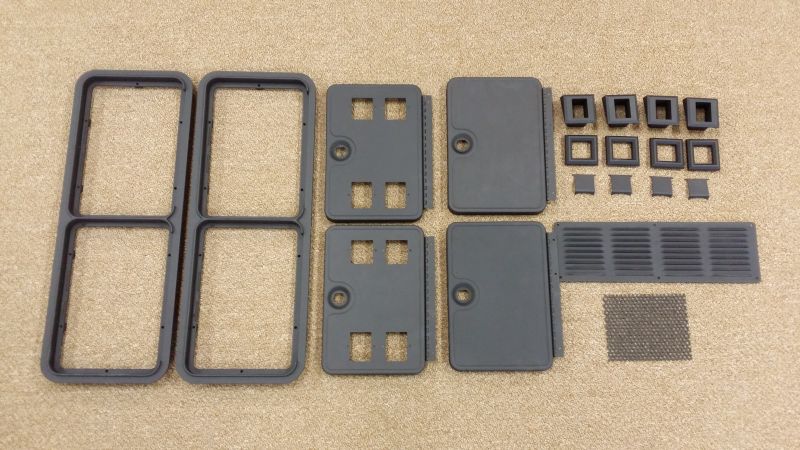
Not bad for only my second try at powder coating
And remember that this is what they looked like :

Next, I sanded and put a second coat of primer on the cab. Then I sanded that and put my first coat of Satin Black Valspar Latex Enamel on the cab. It’s gonna sit a few days. On Thursday I will sand it and put on the second coat.

So I decided to try to plug the holes. I bought an electrical box from Lowes for $1.05. It has the perfect size metal slugs for the holes :


So as you see I popped out the bigger slugs and put them in the CP. I then used JBWeld to epoxy the backs.

I then sanded down the JBWeld just to make it look better and I sanded the front smooth. Then I painted the cp and while I was at it I painted the marquee/speaker metal.


Turned out pretty nice. I used Rustoleum flat black. I only did one coat on the Cp, but I did 4 coats on the marquee/speaker metal since the speaker part shows through.
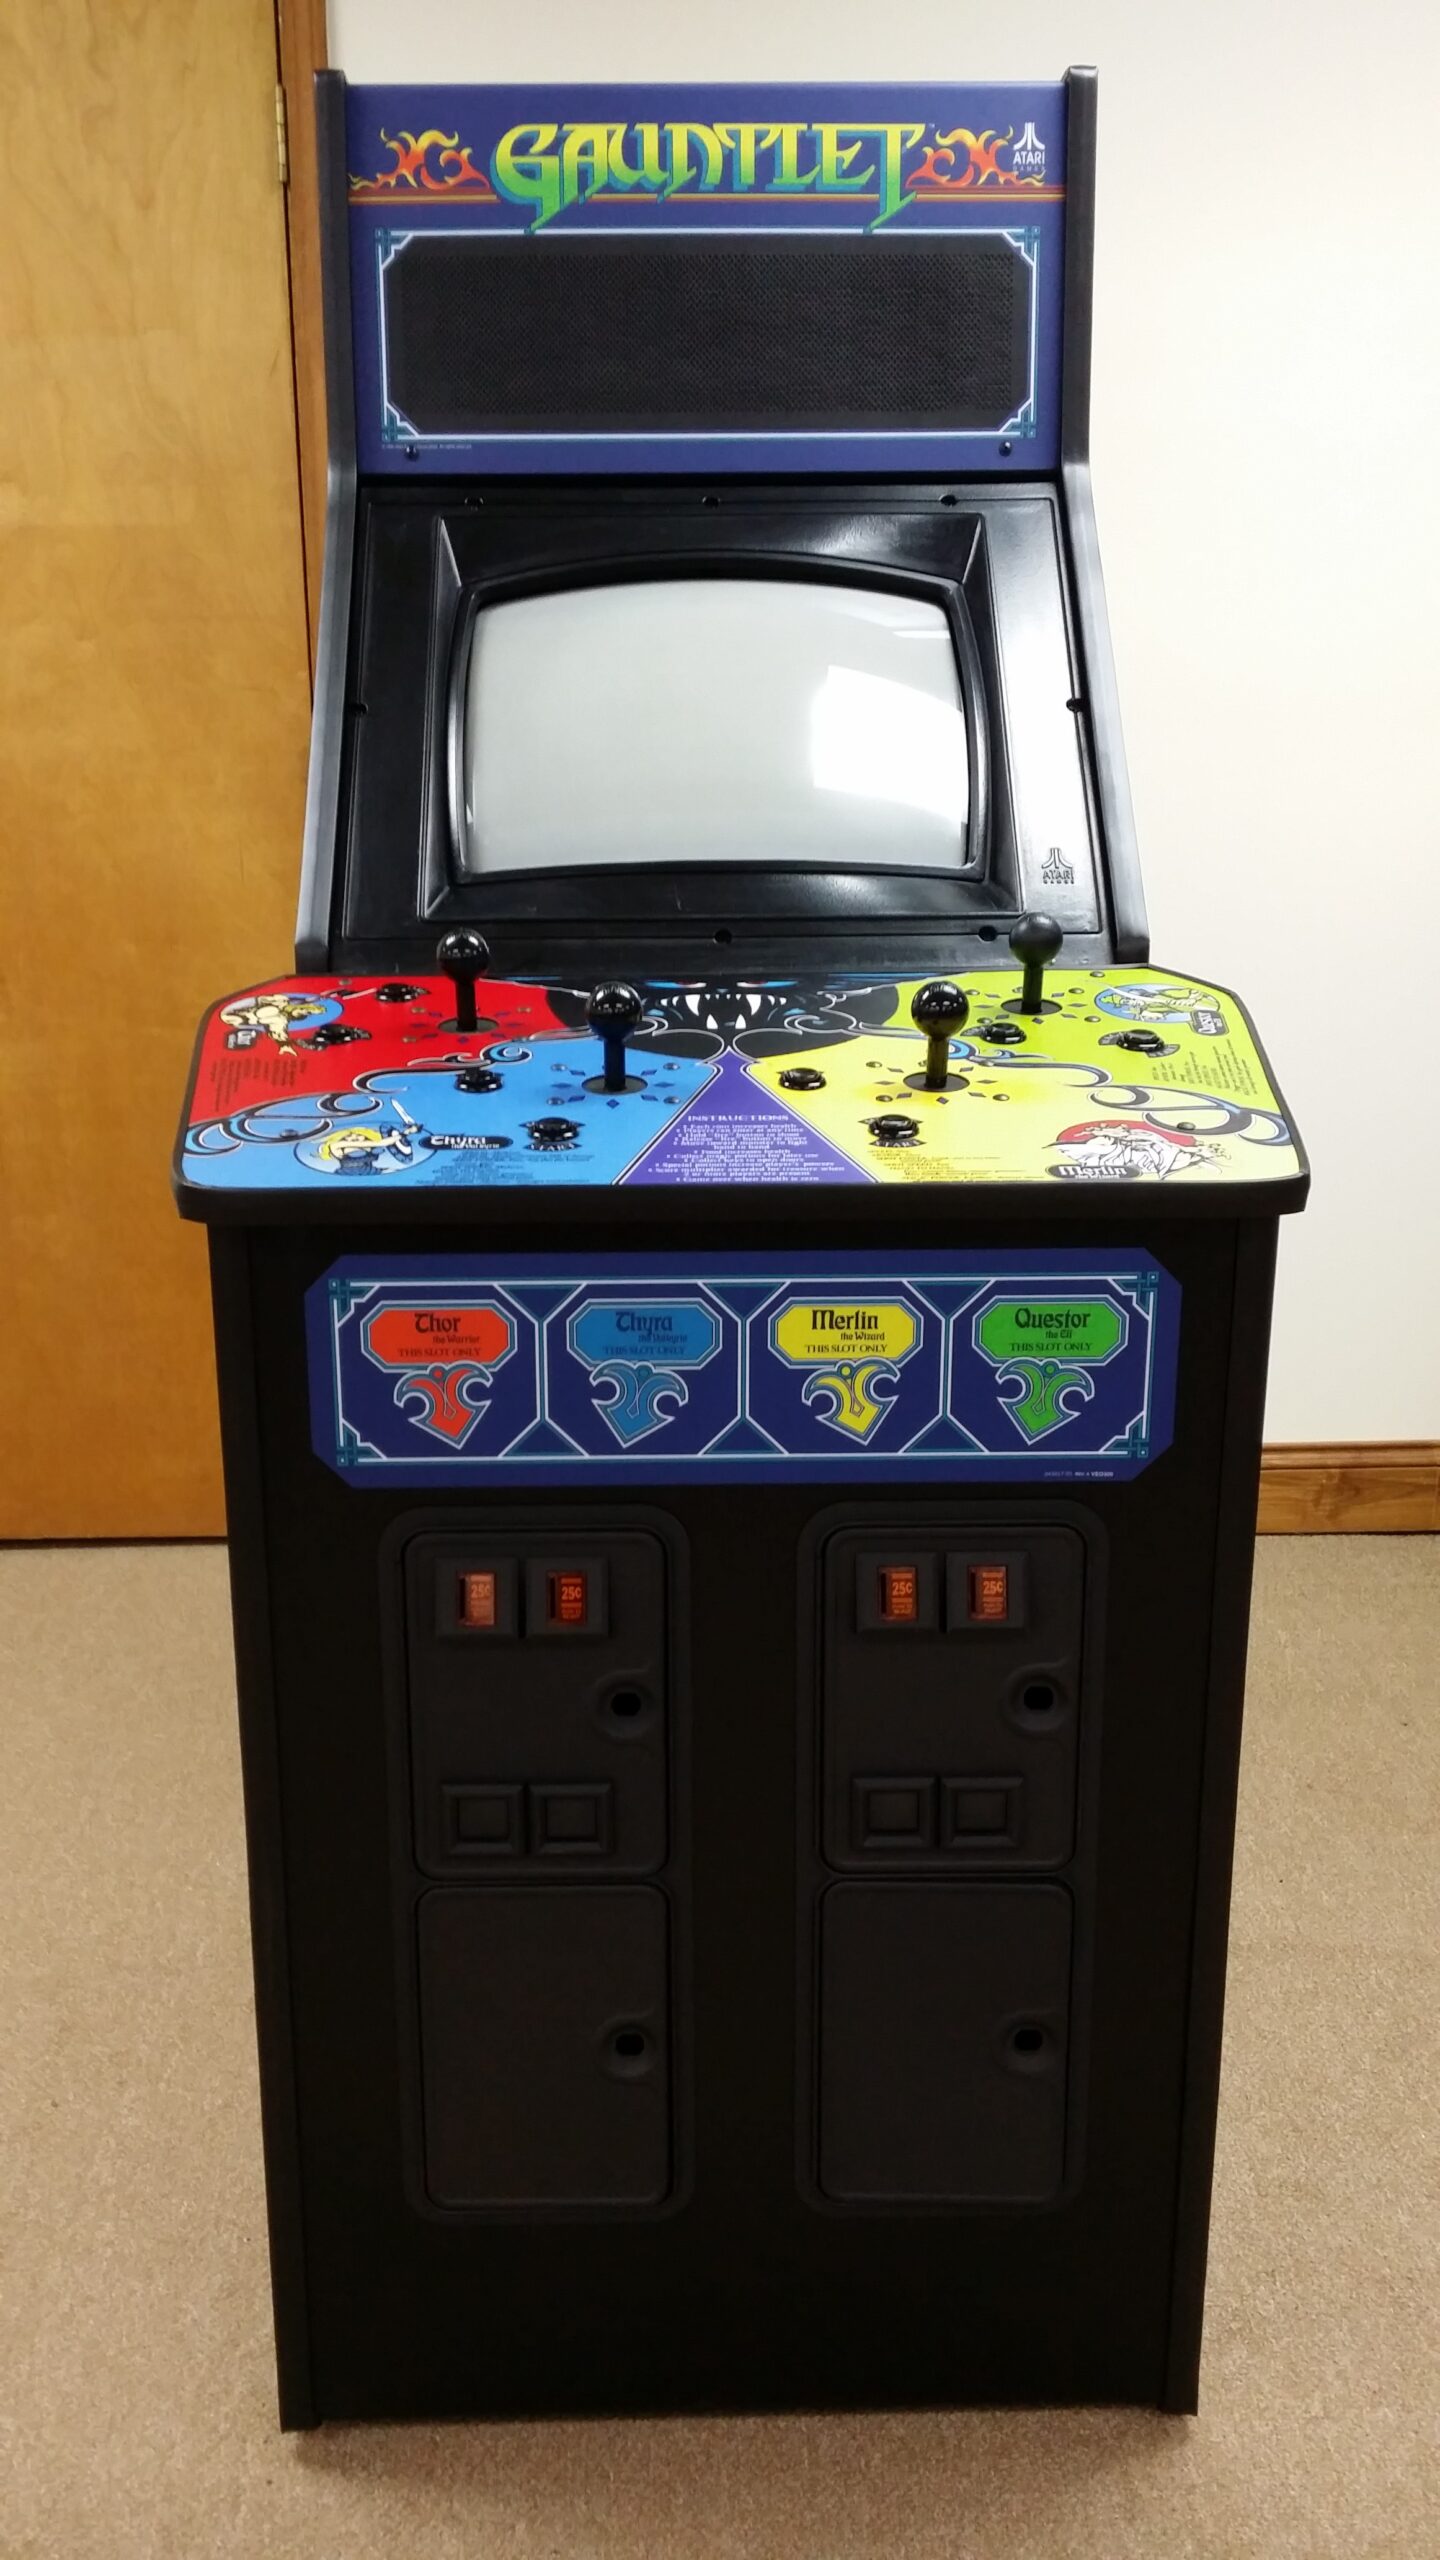
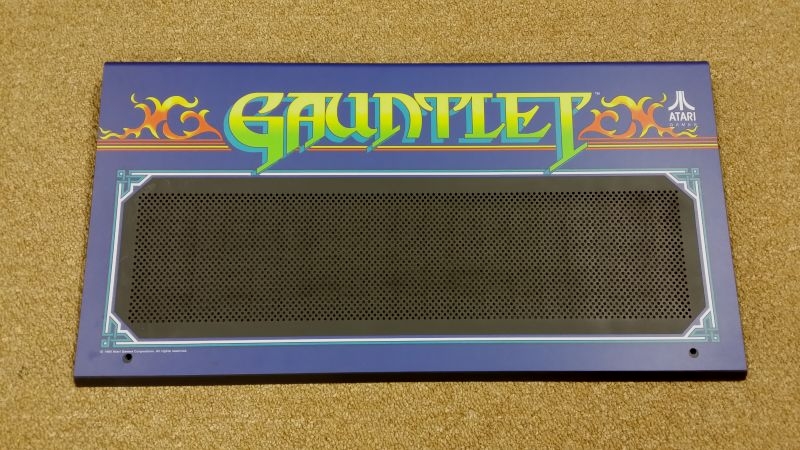
I then put on the Gauntlet Marquee Overlay. My first artwork install, was not bad if I do say so myself.
I finished painting the cab with 2 more coats of black, turned out really nice.
I have also put on the coin doors and the coin door front decal. I put the monitor in and installed the front bezel. Also, I put on the fan cover and the back vent. But I will show all that in the finished pics.
I also remembered that Gauntlet doesn’t have the 4 player start buttons on top. So I had to plug those holes tonight. I will sand and re-paint the Cp tomorrow and then install the CPO and the joysticks and new buttons.
I re-did the Cp and then put on the CPO , joysticks and buttons. And put on the t-molding.

Installed the marquee :

Put on the coin door artwork :

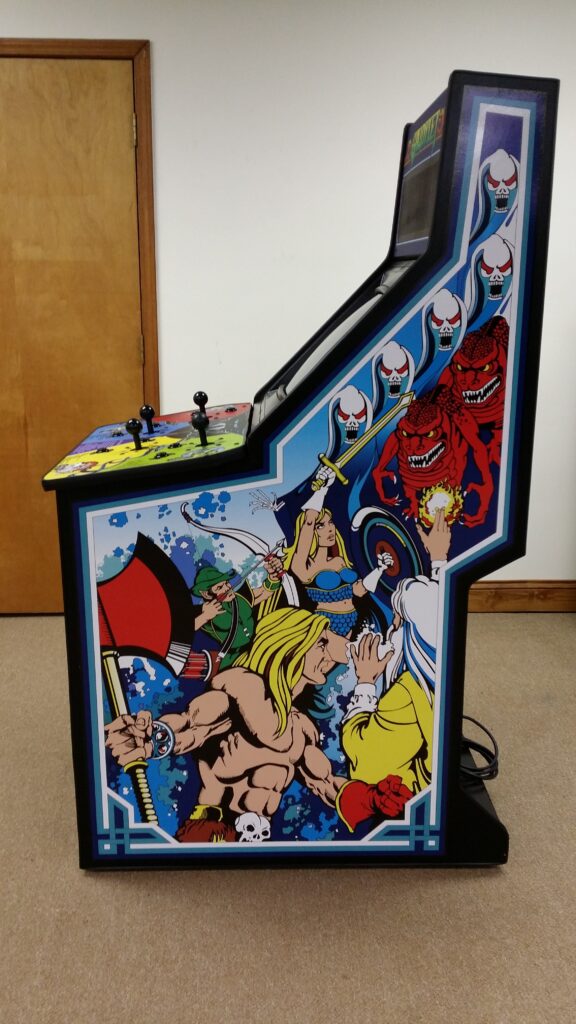
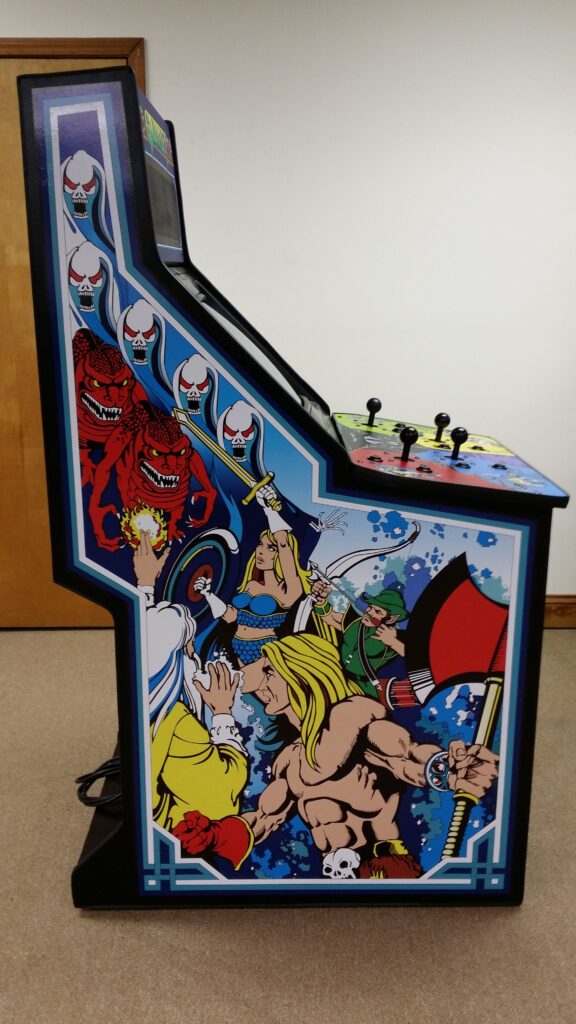
Then I put on the cab t-molding and installed the side art :