I got a Simspons Cab from Kyle at last years Southern Fried Gameroom Expo.
He let me have it for $75, and he threw in a working PCB for $75 more.
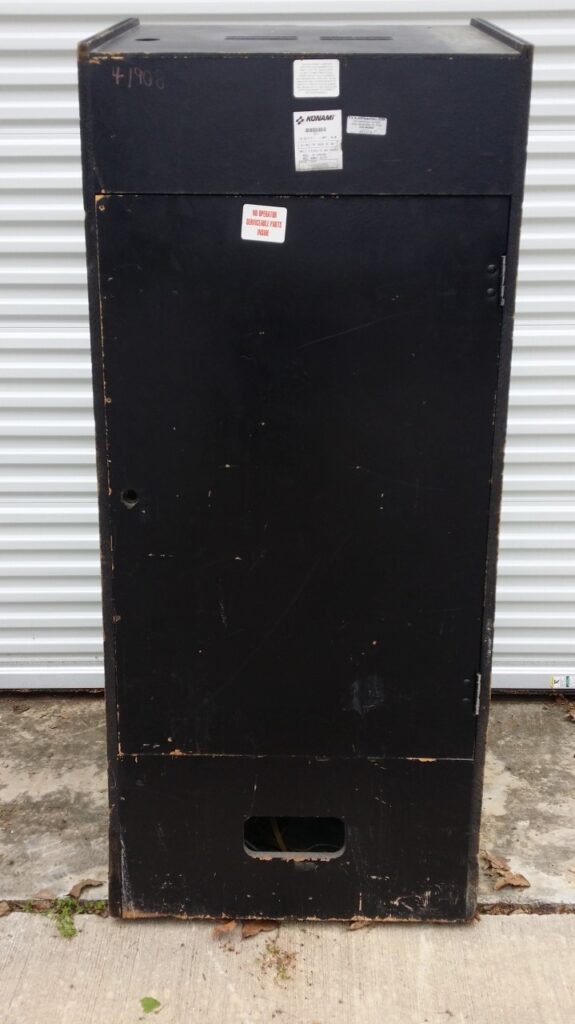
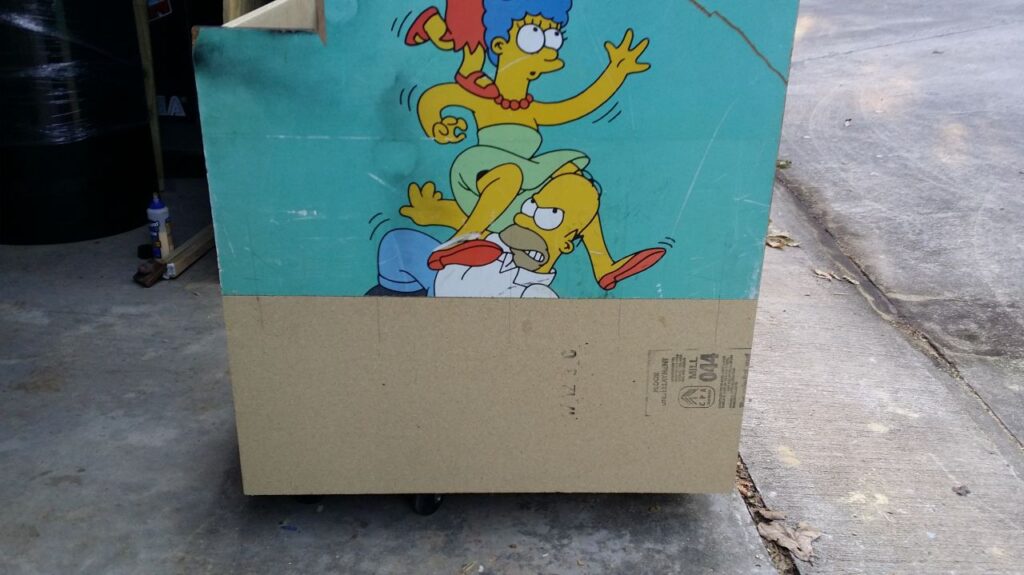
This cab is totally and completely ROACHED!!!
It has water damage on the bottom 12 inches. The front panel is broke in half. The top by the marquee has a chunk out of it. One side has a broken corner. ETC, ETC, ETC….
But I am going to restore this cab anyway. It has all the harness, coin doors, mechs, etc.
I have all the supplies in already:
1. Side Art
2. Marquee
3. CPO
4. Joysticks
5. Buttons
6. Switching power supply
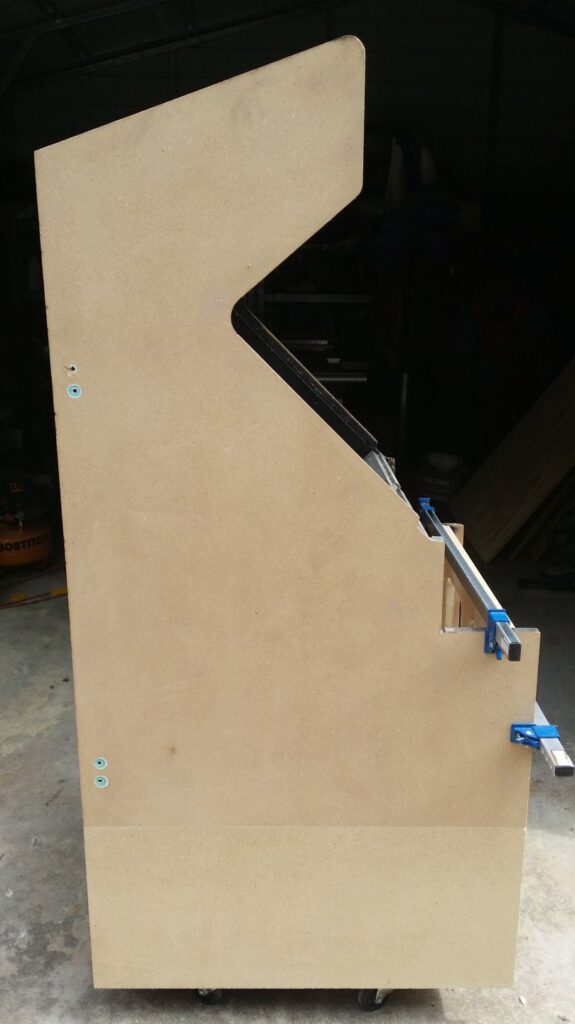
Well here is how she looks now :


I will be working on this in the upcoming weeks.
1. Cut off the bottom 12″ and biscuit join/reinforce a new bottom.
2. Fabricate a new front panel.
3. Fabricate and install a new top/front piece
4. Repair the side piece.
5. Strip and powder coat coin doors.
6, Prep and paint cab
7. Prep and paint CP
8. Install artwork
9, Install CPO/Buttons/Joysticks
10. Re-do power supply
I had to cut off the base. So I used a straight edge and cut the bottom 15″ off.

The front was toast so it came off in pieces, but here is what a moldy, roached base looks like:

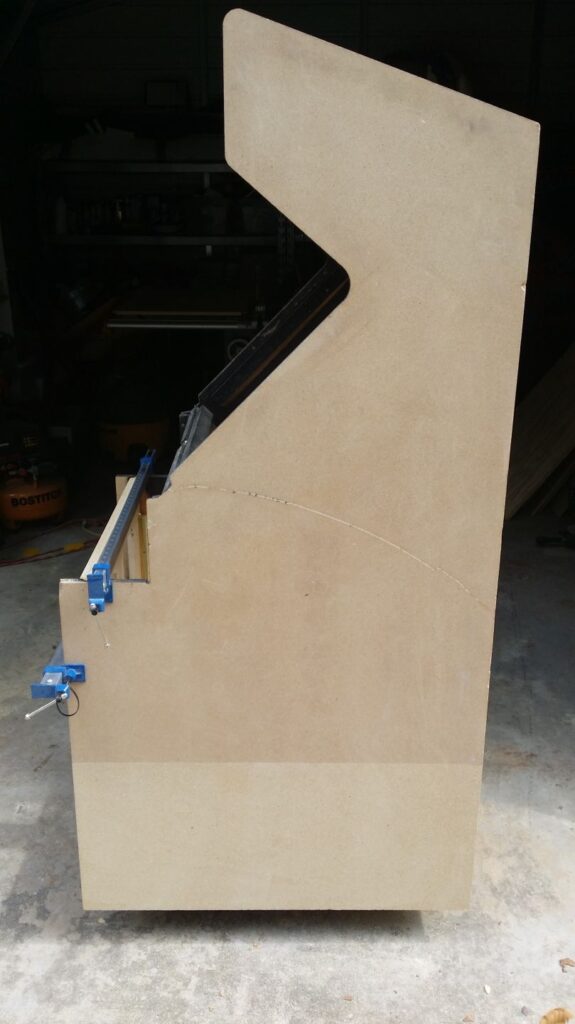
I also cut off the top broken section.
It messed up the left T-molding groove, so I will have to repair that now.

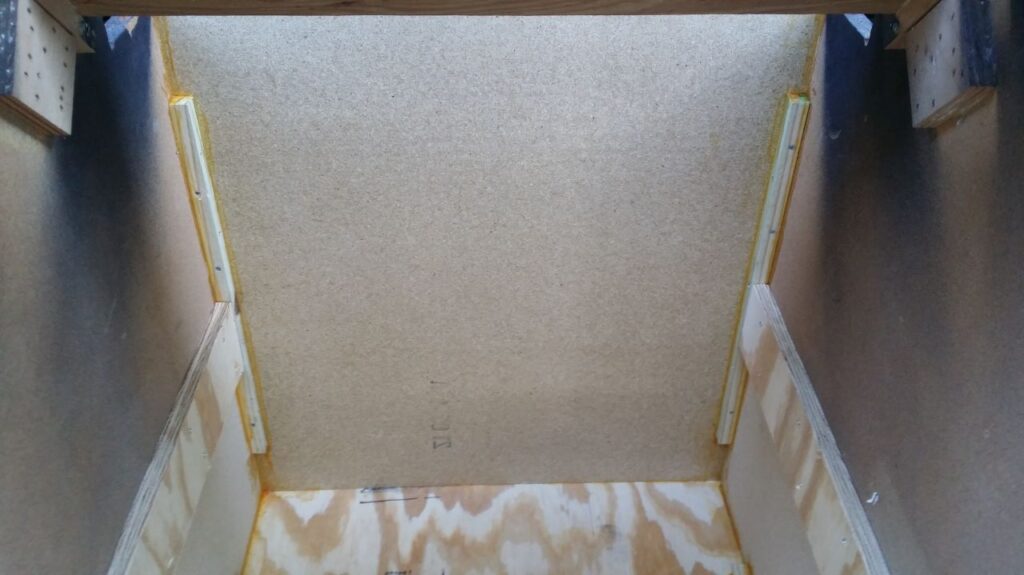
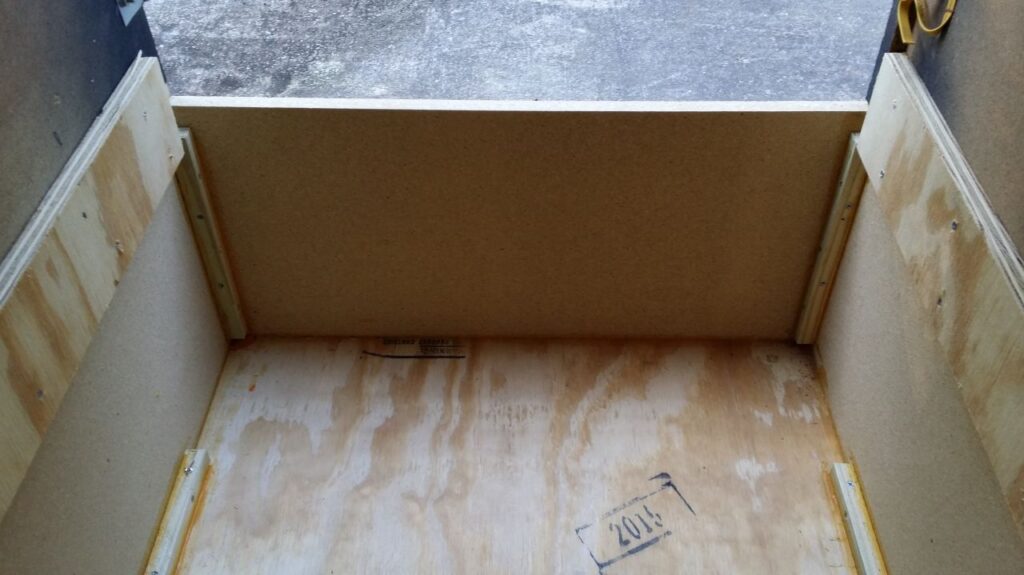
Now I had to re-do the base.
Each piece was measured and completely re-made. Each piece had to be routed and tongue and grooved.
Then the left and right sides had 5 biscuits added to them with the biscuit joiner.
It was all built together like a puzzle. Glued and then a few brad nails to hold it.
Then the corner bracing was glued in and then screwed together.
Once the base was built it was slid into the top piece. The front had to slide in the existing groove in the top part of the cab. The two sides with 5 biscuits each had to be pounded into the top.
And the whole thing was glued and clamped into place. Then a 4″ wide plywood support was glued/screwed into the inside to add support.


Time to cut the coin door holes on the front, the power cord hole on the rear, and repair the top marquee area.
I also cut a new rear door and I need to put a keyhole on it and route out the hinge area.
Then it’s on to the Control Panel.
First how to cut a coin door hole.
1. Mark the sides and top and bottom
2, Using a 3″ hole saw mark the corner curves

3. Using a 3″ hole saw cut out all 8 corners

4. Using a skill saw carefully cut the straight lines on the sides and top and bottom.

Now make sure it fits.

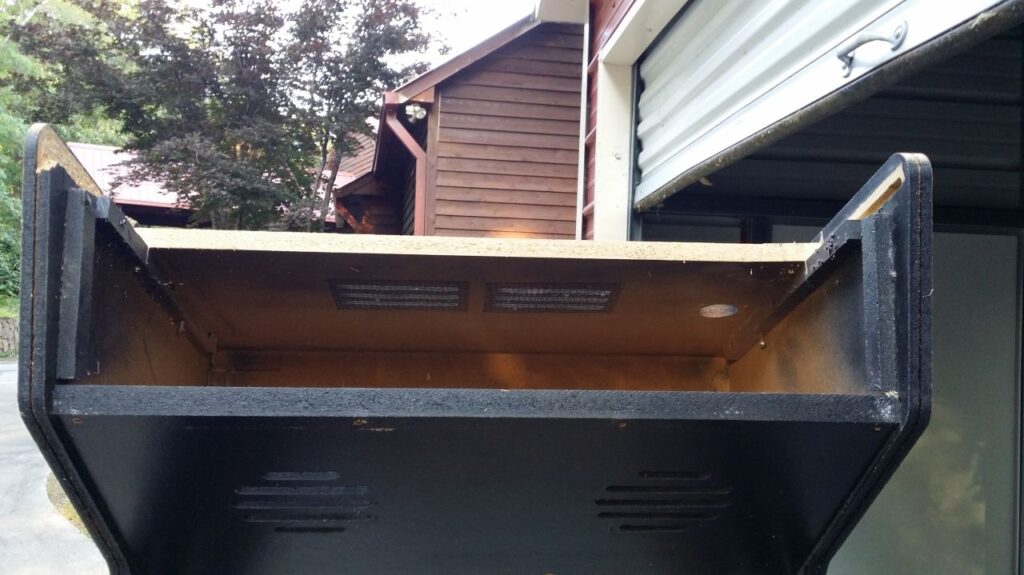
Next repair the top.
1. Cut a 7″x 27″ piece of 3/4″ particle board.
2. Route the T-Molding slot in the front.
3. Route the angled glass slot underneath.
4. Join it to the cab with 4 biscuits.
5. Glue / staple and screw it together.
Oh and while I was at it I repaired the top left corner.

Now the sides got sanded and some cuts/grooves got wood putty and sanded.

Then a back door was cut, the hinge areas routed , bolt holes drilled and the lock hole cut.

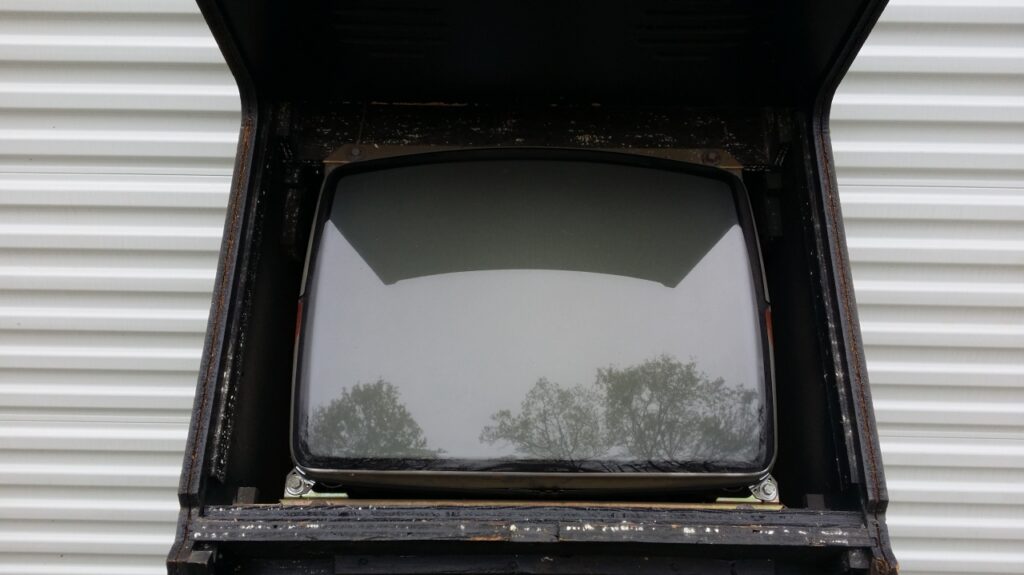
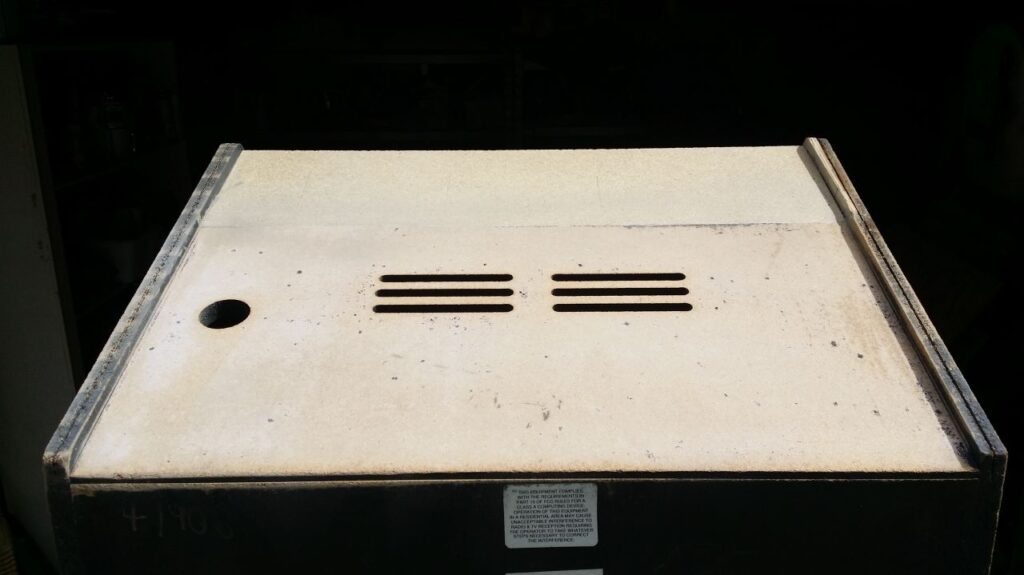
I also Simple Greened the monitor, coin buckets, and monitor bracket.
I disassembled the coin doors, and all bolts/screws/accessories were put in the tumbler for a few days. The monitor chassis was also rebuilt. And the joysticks had their LED’s upgraded to brighter 12v led’s.
I stripped the CP down. I sanded everything and then bondo’d the edges.
I am going to laminate the sides to avoid having to worry about chipped edges, as this seems to be a problem with these. I have to paint the edges and bottom first then I will laminate it.

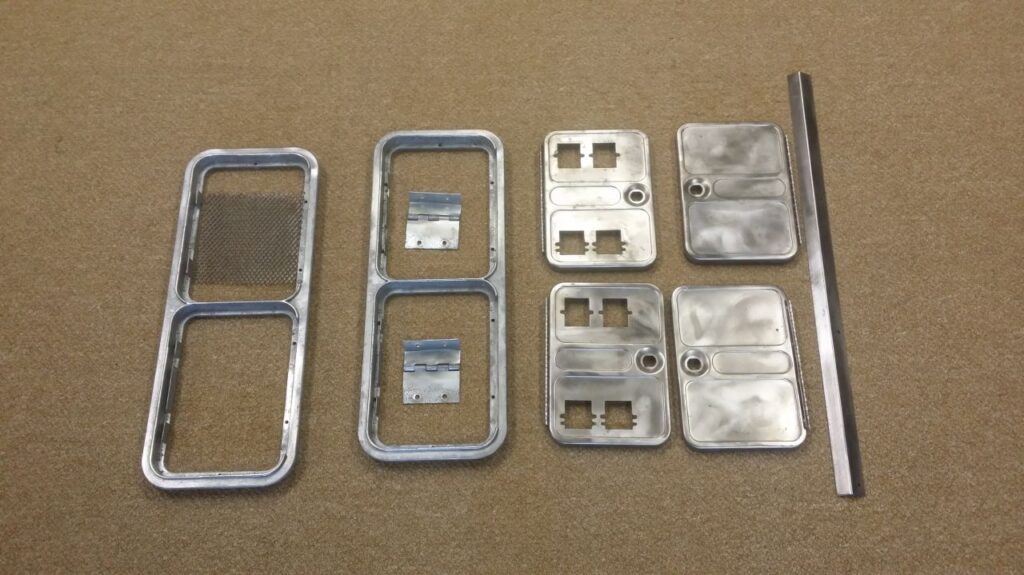
I also stripped the paint off the coin doors and marquee metal and door hinges.
These are now ready for powder coating tomorrow.
I got my parts powder-coated.. I also got the coin doors put back together.

I added feet. Cut some 3/4″ plywood in 3″ squares. Drilled a hole in the center. Put a T-Nut in the backside. Glued and brad nailed it in the 4 corners. Then threaded in the feet.

Check out this corner bracket. MMMMmmmmm

Painted coin boxes

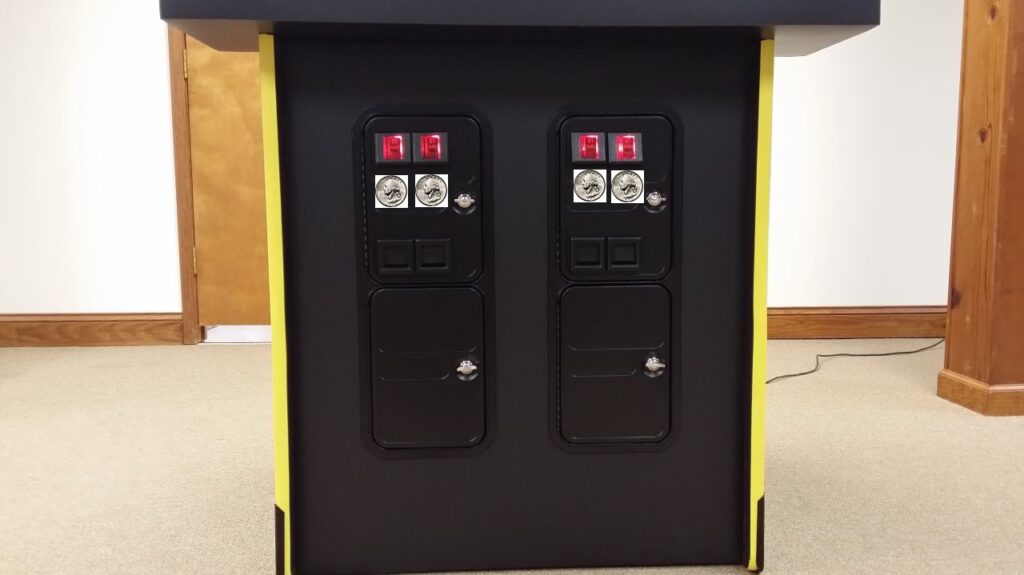
Ok here she is. I did some things different than stock. Don’t like it? Well when you do your own you can do it your way.


The joysticks are SlikStiks from Retro Arcades. I went with them because they are perfectly opaque. Other lighted joysticks have sparkles and I don’t like that. These have an almost erie perfectly uniform glow. I am going to be dyeing them to match the colors that they glow, so when the game is off the sticks will still be the same color as when they are lit up.
http://www.retroarcadeslive.com/webstore/webstore.aspproductid=SS ILLUM BALL&category=86
It’s hard to get a good pic but these are close.


I added a Free Play Option.
I printed them at 90% size on Sticker Photo Glossy paper. Then I laminated the front. Cut them out and put them on the CP pointing to some Easy CoinUp style membrane buttons.


I also printed some Itchy and Scratchy reject inserts and installed them.

It won Best In Show at the 2015 SFGE Event.
