My most popular portable has been the N64BoyAdvance.
Here is the original post from 2011 on the BenHeck Forums
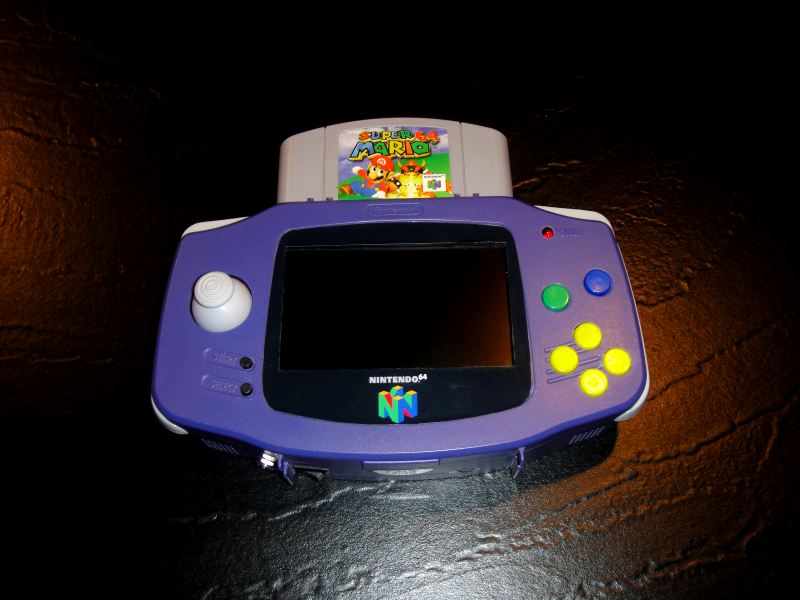
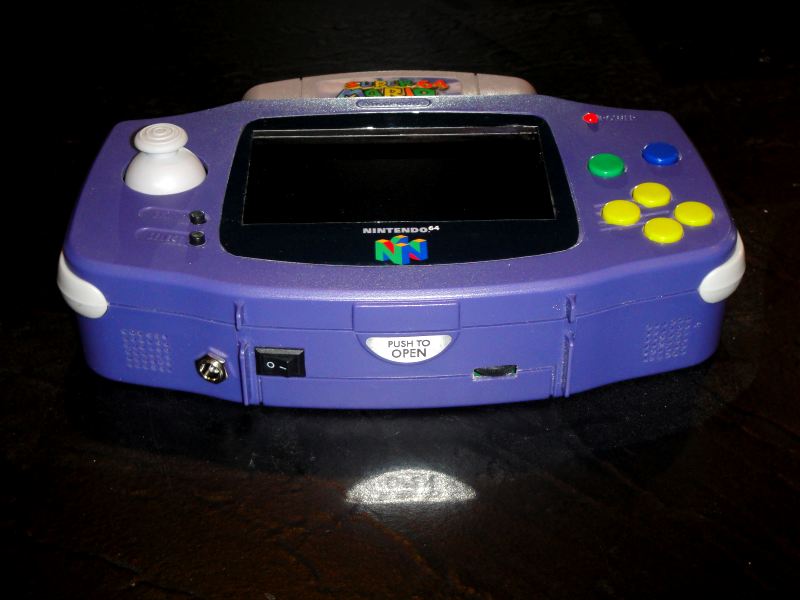
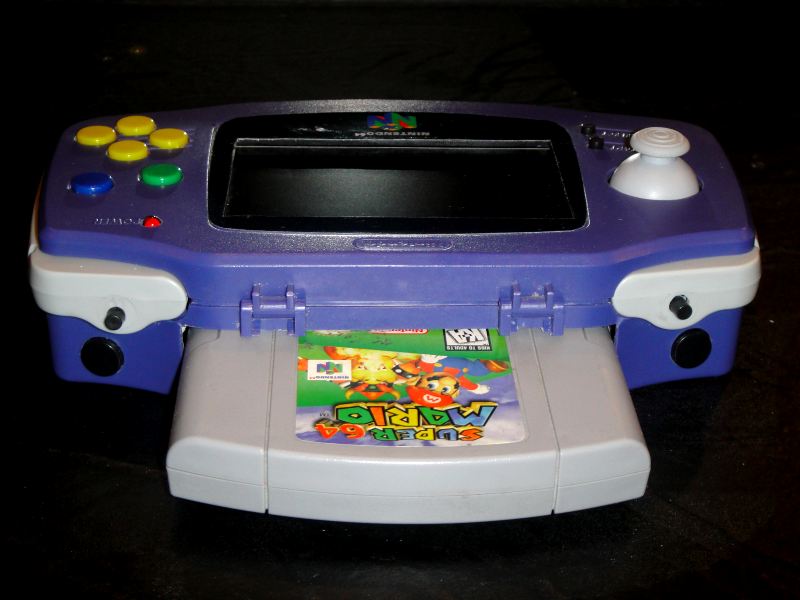
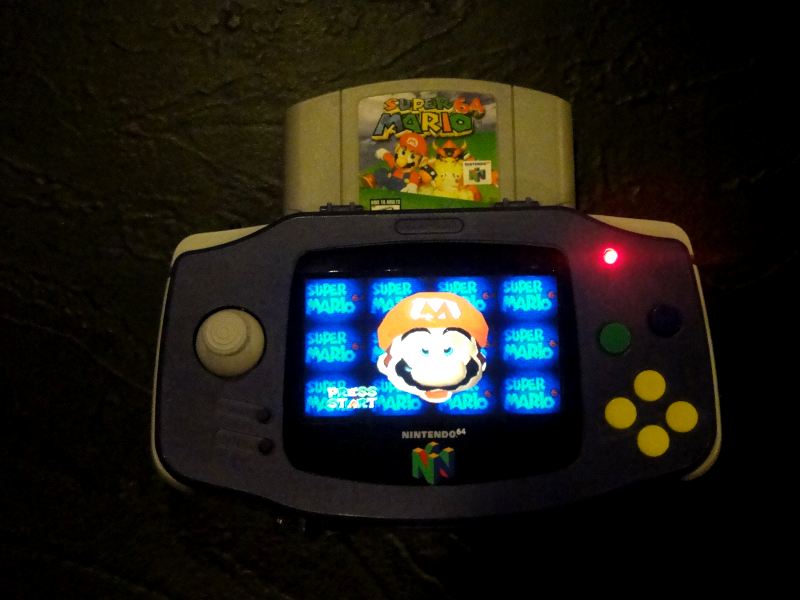
I finished my latest N64 portable.
I’ve been wanting to do this for a while. I’m kinda tired of all the epoxying , sanding, bondo-ing, painting, etc. So a while back I bought a GBA carry case.

But real life got in the way. Anywhoo a few weeks ago while cleaning, I found it and decide to give it a go.
Here are the specs :
Case — Gba carry case
Screen — 4.3″ Ebay screen with brightness controls
Batteries — 5600mAh Li-Ions
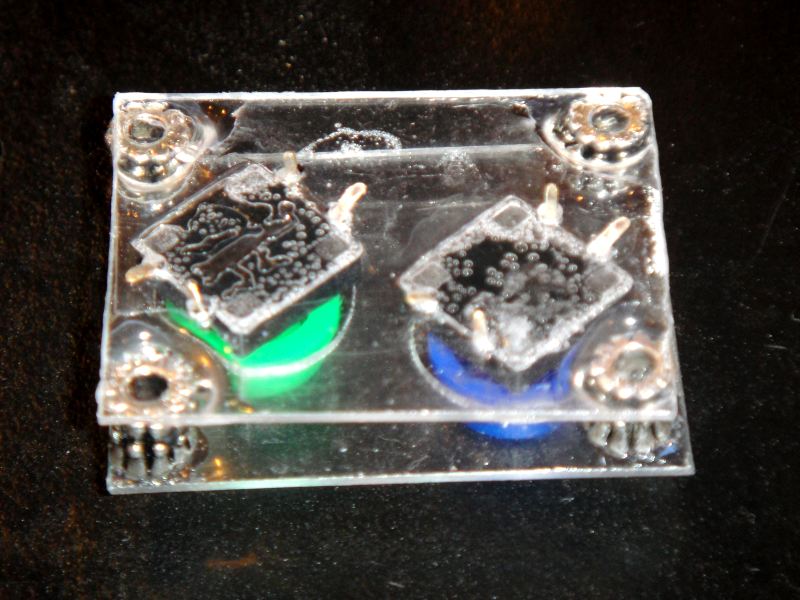
Buttons — 6mm X 6mm tacts with colored caps
Joystick — Gamecube
Expansion Pak included
N64 board cut down to fit
Battery life — 5-6 hours
Custom laminated screen surround with N64 logo
Well here’s the pics :


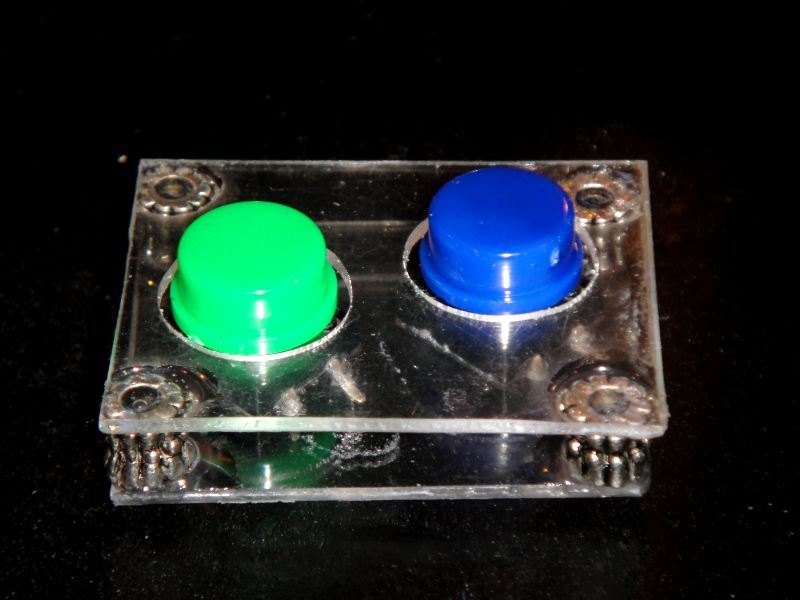
I wanted to do buttons that were like Bacs. Simple and permanent.
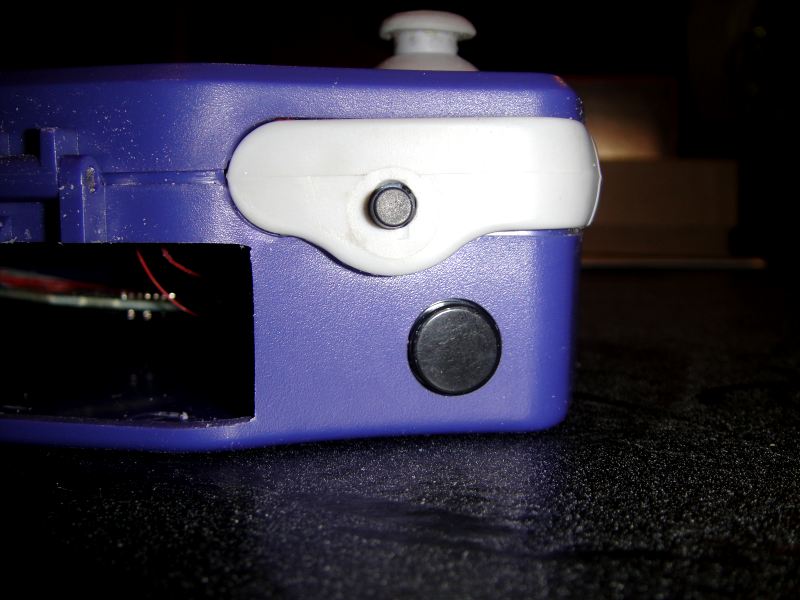
So I used plexiglass. Cut to size. Super glued tact switch to it. Then I super glued spacers between the plexiglass pieces. Then the button assembly was Plexi Welded to the case. The L and R tact switches were put in the thick plastic that makes up the “bumper” around the case.


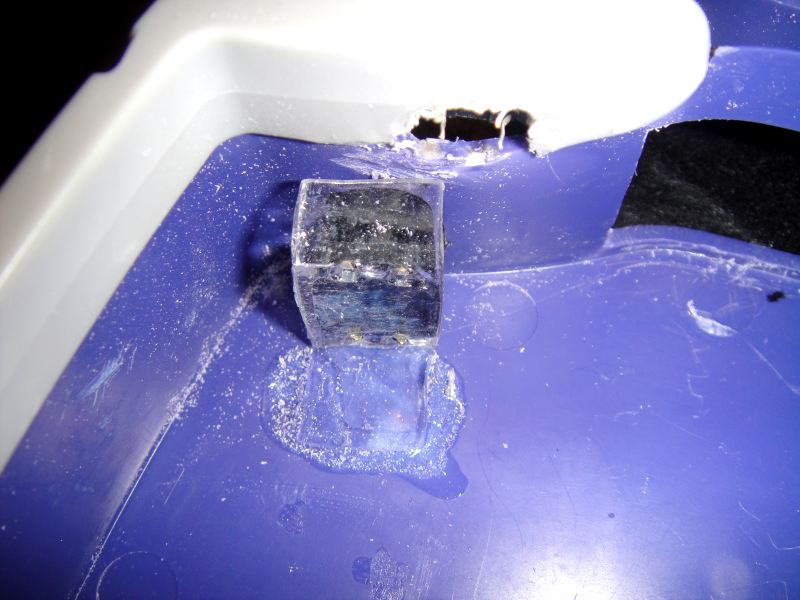
The Z buttons were a bit harder. I first mounted them to a piece of plexiglass. Then I used a heat gun and bent the plexiglass into a Z shape. Then I Plexi Welded them to the case.

Here’s a pic of the cut-down N64 board. I used oversize heatsinks from a Cpu cooler/combo pak off Ebay for the Cpu. Ram heatsinks for the ram :

I’m quite proud of the fact that the only hot glue that was used was to hold the batteries in and on a few of the wires to hold them to boards/case.
All the rest is either epoxied, super glued, or Platic Welded in.
