I got it from Kyle (kfuller19). It was complete except for the back door and working.
I re-capped the 2-20EZ monitors, re-capped the audio boards, and put in 2 new pots on the audio boards. So the screens are dialed in and looking great and the audio is spot on, with very little hum.
All new artwork is here, flat white T-molding is here, CPO is here, buttons are here. So now it’s time to restore this beauty.
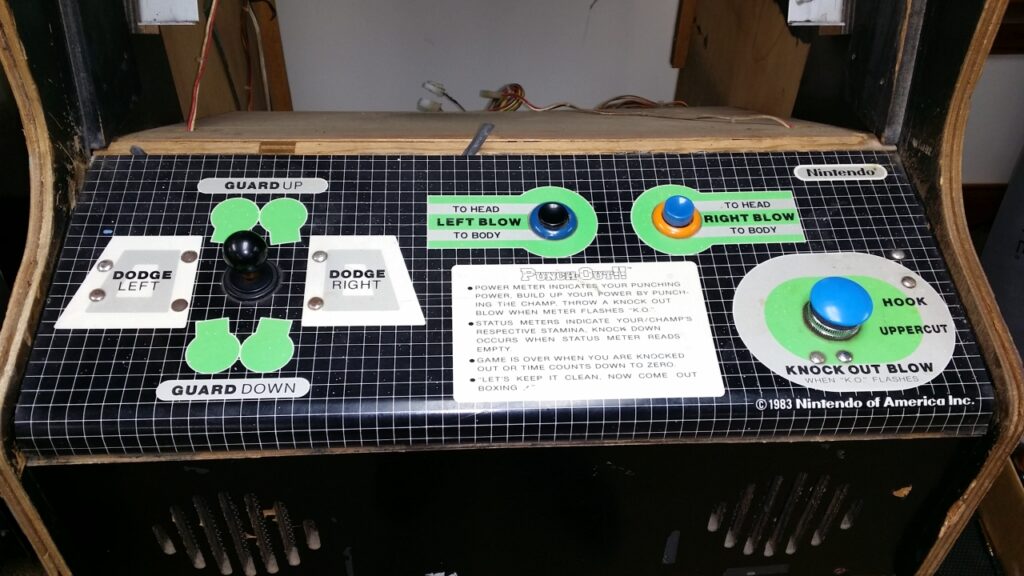
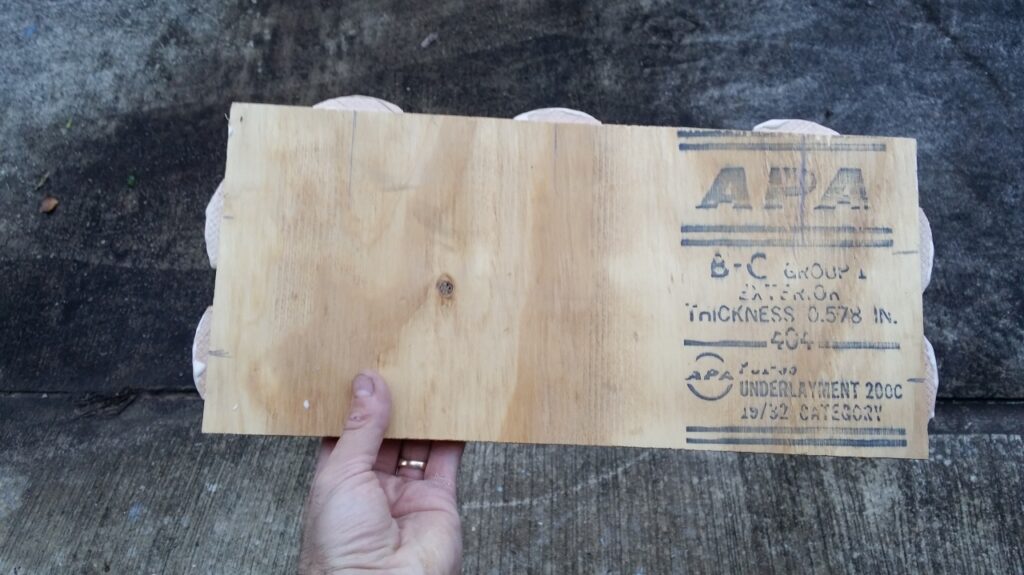
Here she is along with one of her major flaws:


I am debating painting the sides or doing laminate. All the laminate I have found is too dull (matte finish) or too shiny (gloss finish).
I’m pretty confident in my painting skills now, so I might just do that if I can’t track down any good laminate.
I am going to fix the cut-out on the side. Sheesh who did that and why?
I am going to put in a square of plywood with a biscuit joiner, and wood glue, and finish the cracks with Bondo. Hopefully, I can get it pretty perfect.
I am also going to have to build a new back door, but that won’t be too much of a problem.
I also have the glass bracket from a VS machine, so I am probably going to do 2 sheets of tinted tempered glass instead of the plexiglass. We’ll see though because Laserfan is doing another reproduction Punch-Out! plexi soon, so I might go with that.
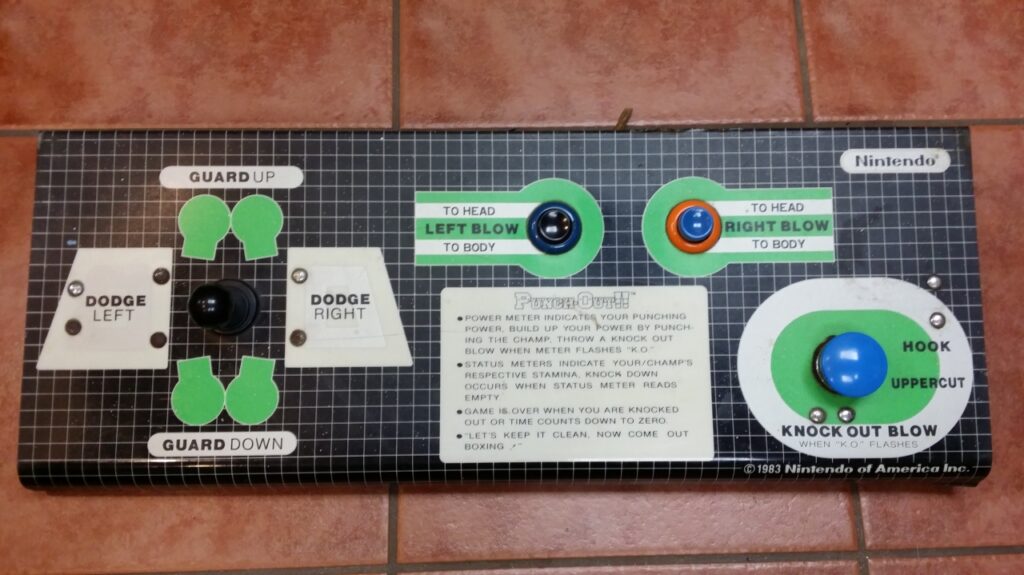
Got the Cp done.
Before:
Stripped off the old cpo.
Paint stripped the CP.
Primed the Cp with 3M adhesive primer.
Cleaned and re-oiled the joystick.
Cleaned UpperCut Button.
Put on new CPO.
Put in new buttons.
Sanded bolt heads.
After:

Ding, Ding, back to the fight!
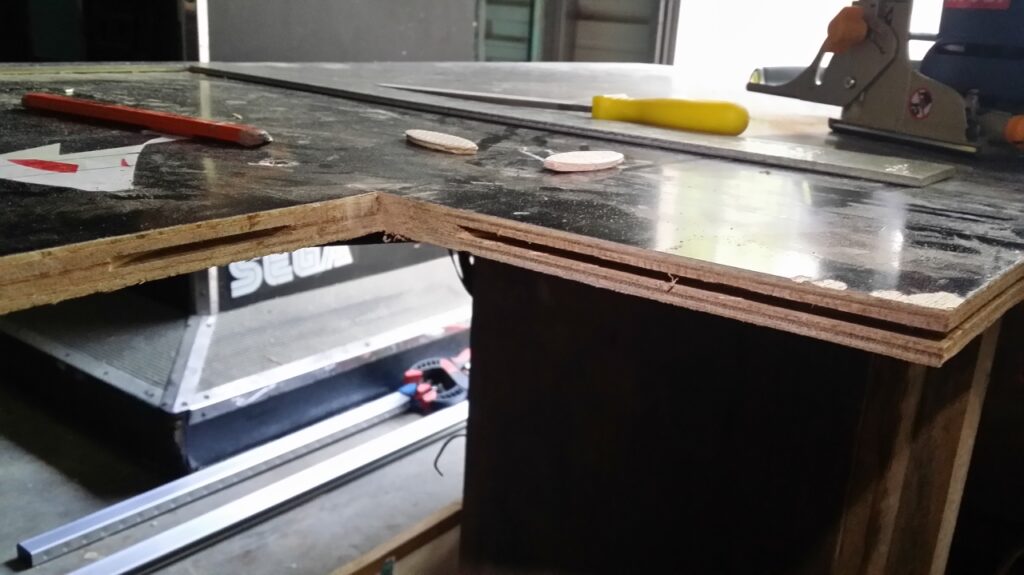
Let’s tackle this ugly missing section.
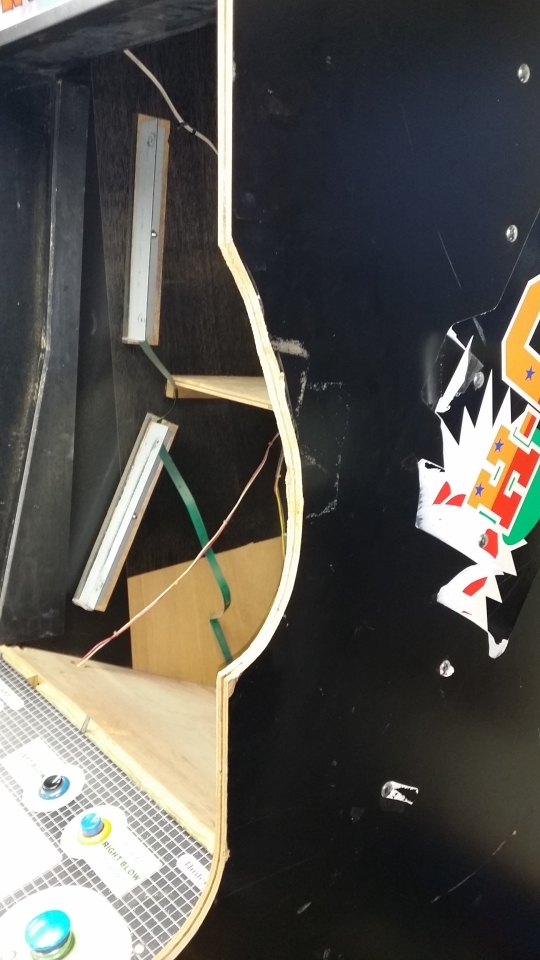
First, we need to cut it out in a nice square. I clamped down some guides and ran the circular saw to the corners. Then I used a jigsaw to cut the corners and remove the offending section.
Next, I cut a replacement section. Now how in the world to put it in and make it strong. Well of course the best way is with a biscuit joiner. But there’s no way to get a 3 sided piece of wood with biscuits in the hole I just cut. Or is there?
Here’s how I did it.
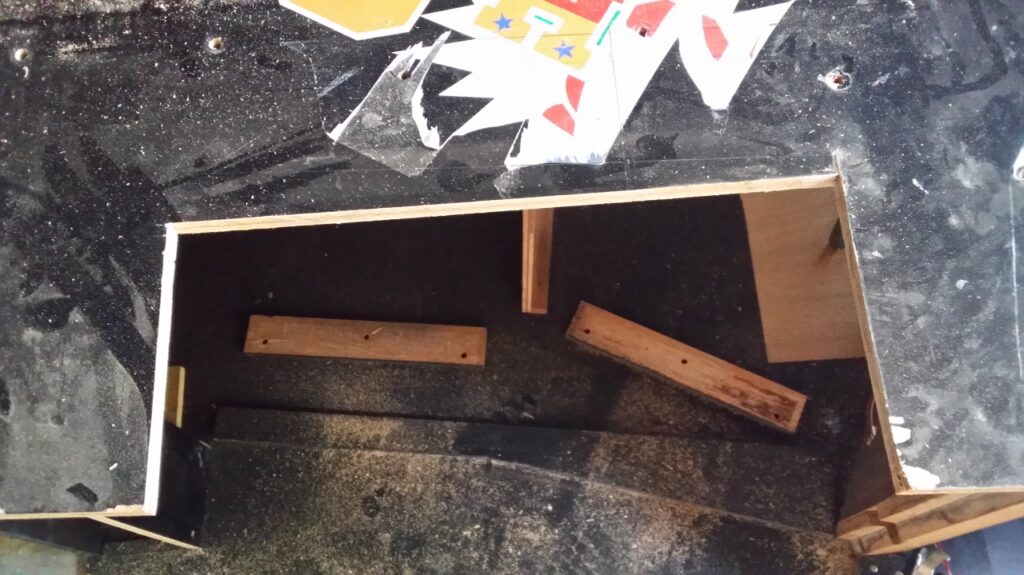
First I put 3 biscuits in the back and 2 on each side.
Then I cut the 3 back biscuit grooves. Then on the sides, I just used the biscuit joiner and cut a groove most of the way down each side.
Then all I had to do was put glue in all the slots and slide in the new piece. It was a super tight fit but it went in with some coaxing and it dried hard as a rock. Solid and doesn’t move at all.

Next, I trimmed the front off level and added the t-molding groove.
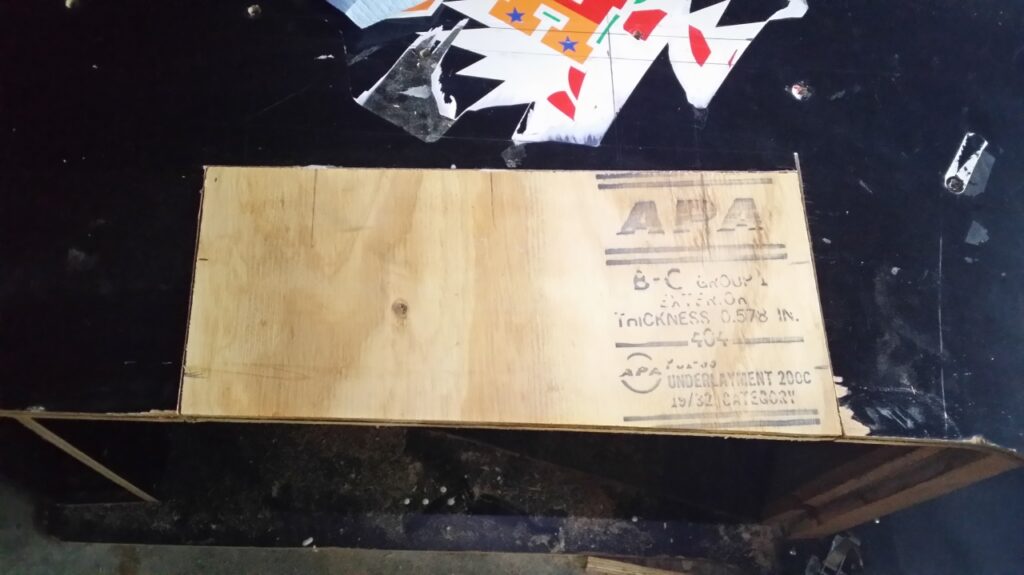
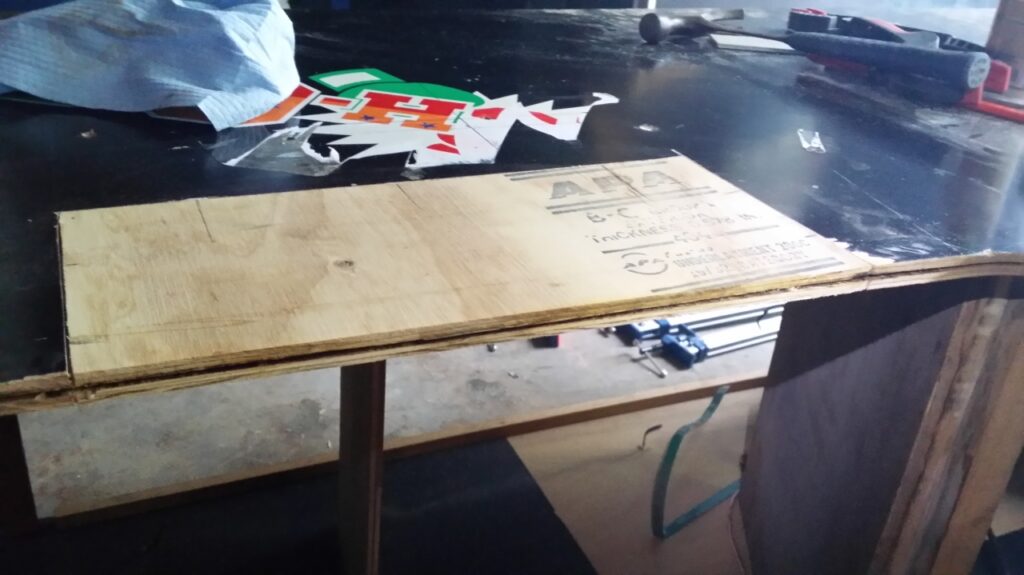
It’s Done! And it’s a KO!
First I needed a new base. I used 1″x4″ treated. I ripped some pieces for the corner bracings. Glued/screwed/nailed /painted it :

I finished the Punch-Out! out in Black Formica. I sanded off the old stuff. I then bondo’d the edges and any gouges. Then I used contact cement and put on the formica. Then I used a flush trim router bit to shape it.
I painted the inside edges and back with flat black automotive primer, then flat black paint. Sprayed it on with my Harbor Freight HVLP spray gun.
I installed artwork from QuarterArcade.
I also didn’t use the original plexi, it was to far gone. I got some tinted glass and the bracket from a PC10 that was being tossed. It was easy to install and looks terrific!
White “True Flat” T-Molding from Chomping Quarters.


I put formica on the front over the speaker holes, then I routed the speaker grooves. Here’s how I did it :
1. From behind drill a small hole in the formica in the center of each groove.
2. From the front drill a 1/4″ hole using the smaller hole as a guide.
3. Route out the groove using a 1/4″ flush trim bit.
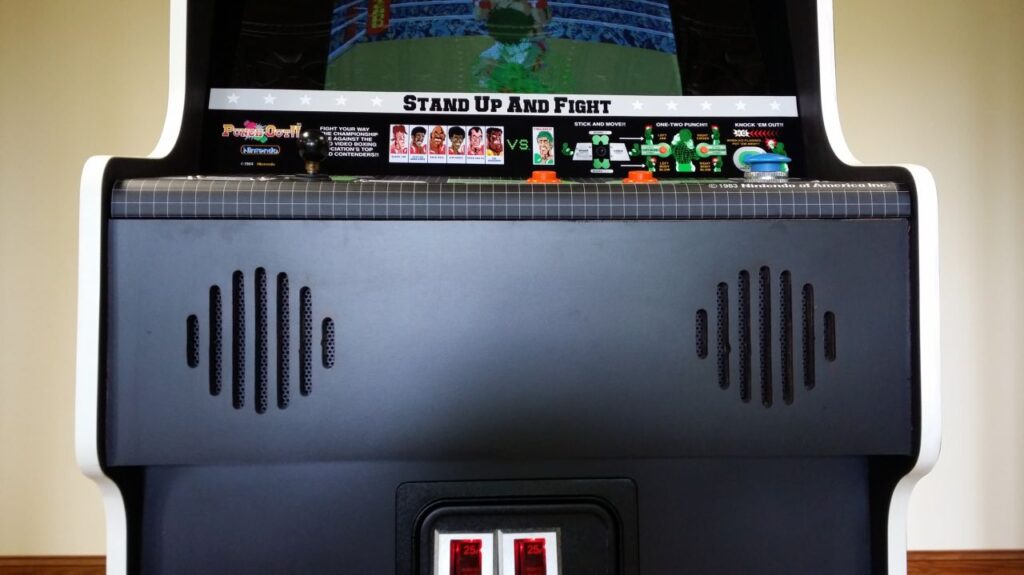
I put in a new marquee from ArcadeOverlays. Got it with the white 10 mil upgrade and then I put it behind a thin piece of plexi.

I used an overlay from QuarterArcade, and here you can also see the Punch-Out! Instruction Card from KLOV Member arcadeaction. It is held on with double sided tape.

The coin doors were stripped and powdercoated with Black Hammertone powder :

The back door was made from 1/2″ plywood. The bottom was routed and a lock was installed.

I also installed the Free-Play with attract Rom, and put in a new marquee light.
This thing is now one sexy beast