Now that I made you look:
I bought a Donkey Kong from fellow KLOVER “new sheriff in town. He gave me the cabinet with an extra board set and extra power supply for $150. Thanks Wesley!
But…………………. It needs a bit of work.


The cab is actually in decent shape. My plan is to re-laminate it, new artwork, new CP, new bezel, new t-molding, new marquee, and a lot of cleaning.
The light is working on it, but look what I found behind the marquee!

Ewwwwww……….
I cleaned it up real good with Mean Green, but it didn’t make my wife happy. LOL
Unfortunately, the Control Panel is toast. I tried to save it but everything literally fell apart when I disassembled it.


My plan is to CNC out a new panel. I am using black melamine. I already have it worked up in Solid Works and I’ll try cutting one tonight. If it works out I “might” offer these to fellow forum members.
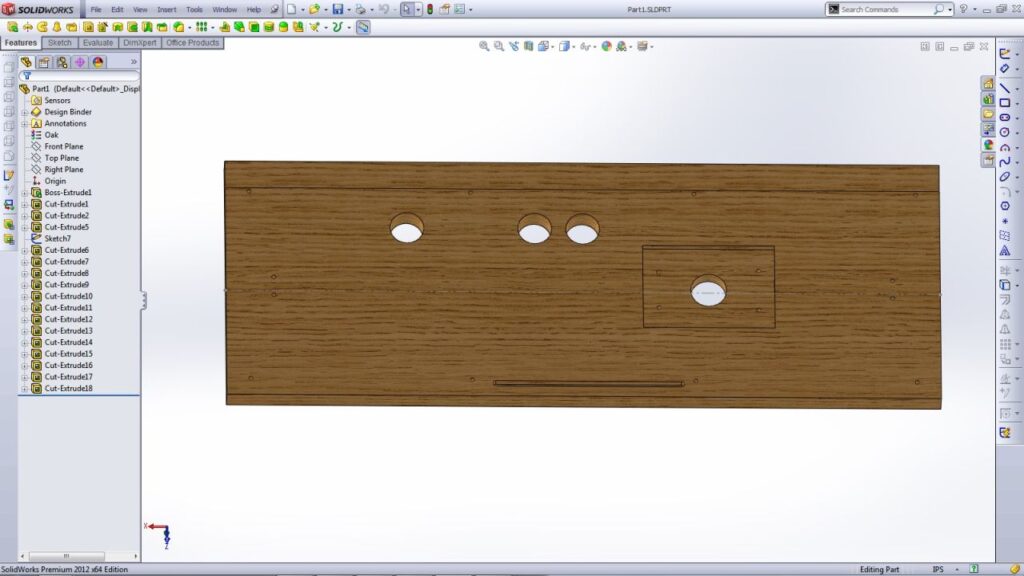
I finally got everything setup to cut the Control Panel.
Here is the test results on plywood:

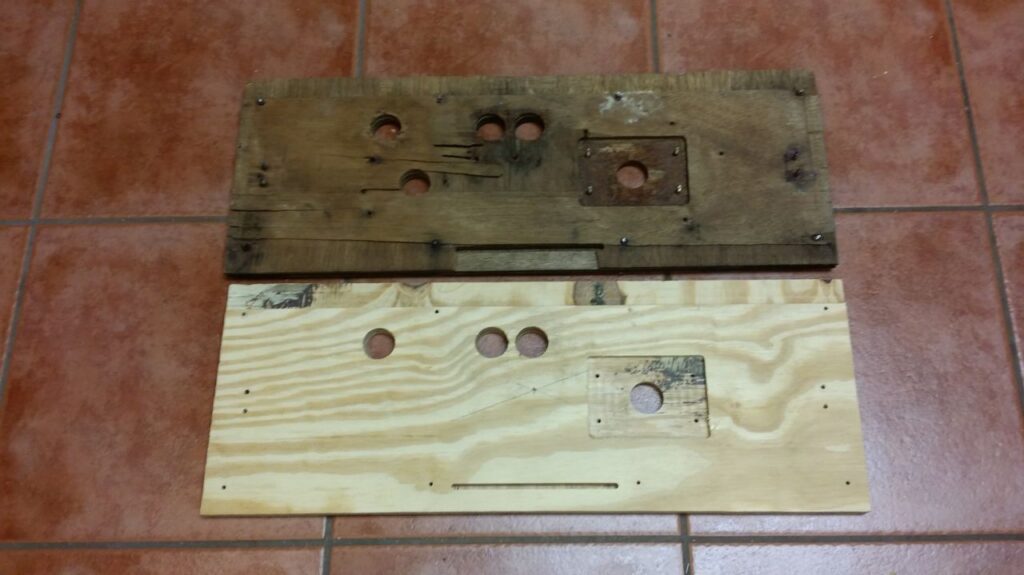
Control Panel is done.
Repro plexi overlay
Repro instruction card
Repro buttons/button assemblies/button switches
Repro Dk controller
Repro joystick assembly mount
Repro strike set
Repro cp bolts
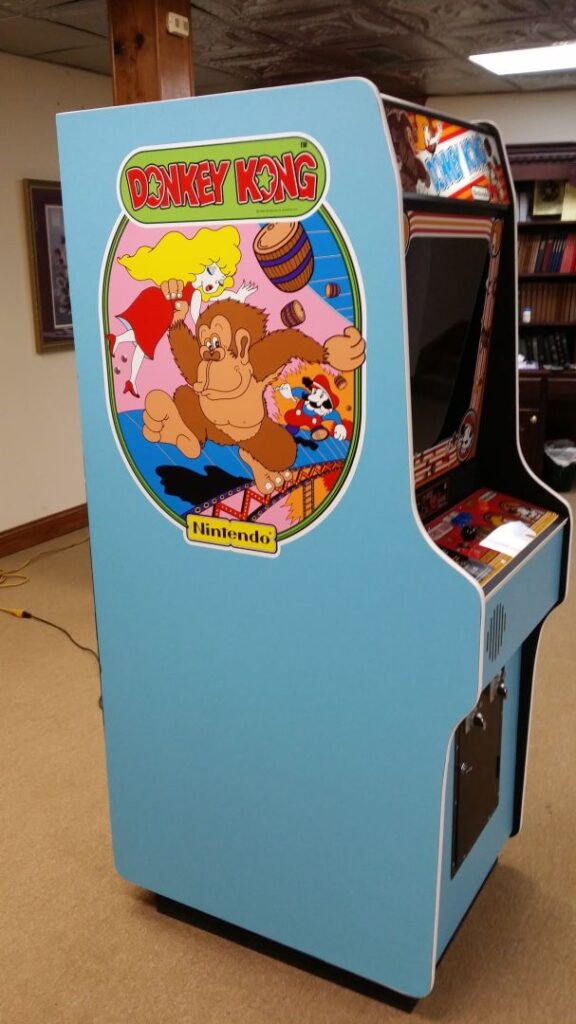
Here she is in all her glory.


And how it looks on my not yet restored Donkey Kong

I had to :
1. Remove, Sand, and Repaint the marquee brackets and bezel brackets.
2. Remove and repaint all the rusted silver metal pieces.
3. Sand and fix broken edges on the cabinet.
4. Remove, strip, and paint the coin door.
5. Clean and polish all coin door parts.
6. Sand and paint all black parts including the original back door.
7. Construct/Paint/Install new base
8. Laminate the sides/front with Caribbean Blue laminate.
9. Install new flat t-molding
10. Install new artwork, new marquee, new bezel, new control panel
11. Put it all back together again.
And she looks B-E-A-utiful


And just for fun 3 Before/After pics:


Here’s how you cut the speaker slots in the laminate (if you already have slots in the wood).
1. Use a 1/4″ Carbide Flush Trim Bit. It has no bearing so be very careful to not push hard against the sides of the speaker slots as it can cut into the wood. Adjust the bit as high as it can go to avoid this.
2. From behind (inside the cab) drill a small hole in the exact center of each slot. Centering left/right.
3. From the front drill those holes with a 1/4″ bit that will allow the Flush Trim Bit to fit. This is why you centered the smaller bit. The slots are not much wider than the bit so if you didn’t center the small bit you could hit wood on either edge. You may want to use a smaller bit first then the 1/4″ just to make sure the laminate doesn’t chip.
4. Route out each slot making sure to go clockwise. (counter clockwise is for outside cuts)