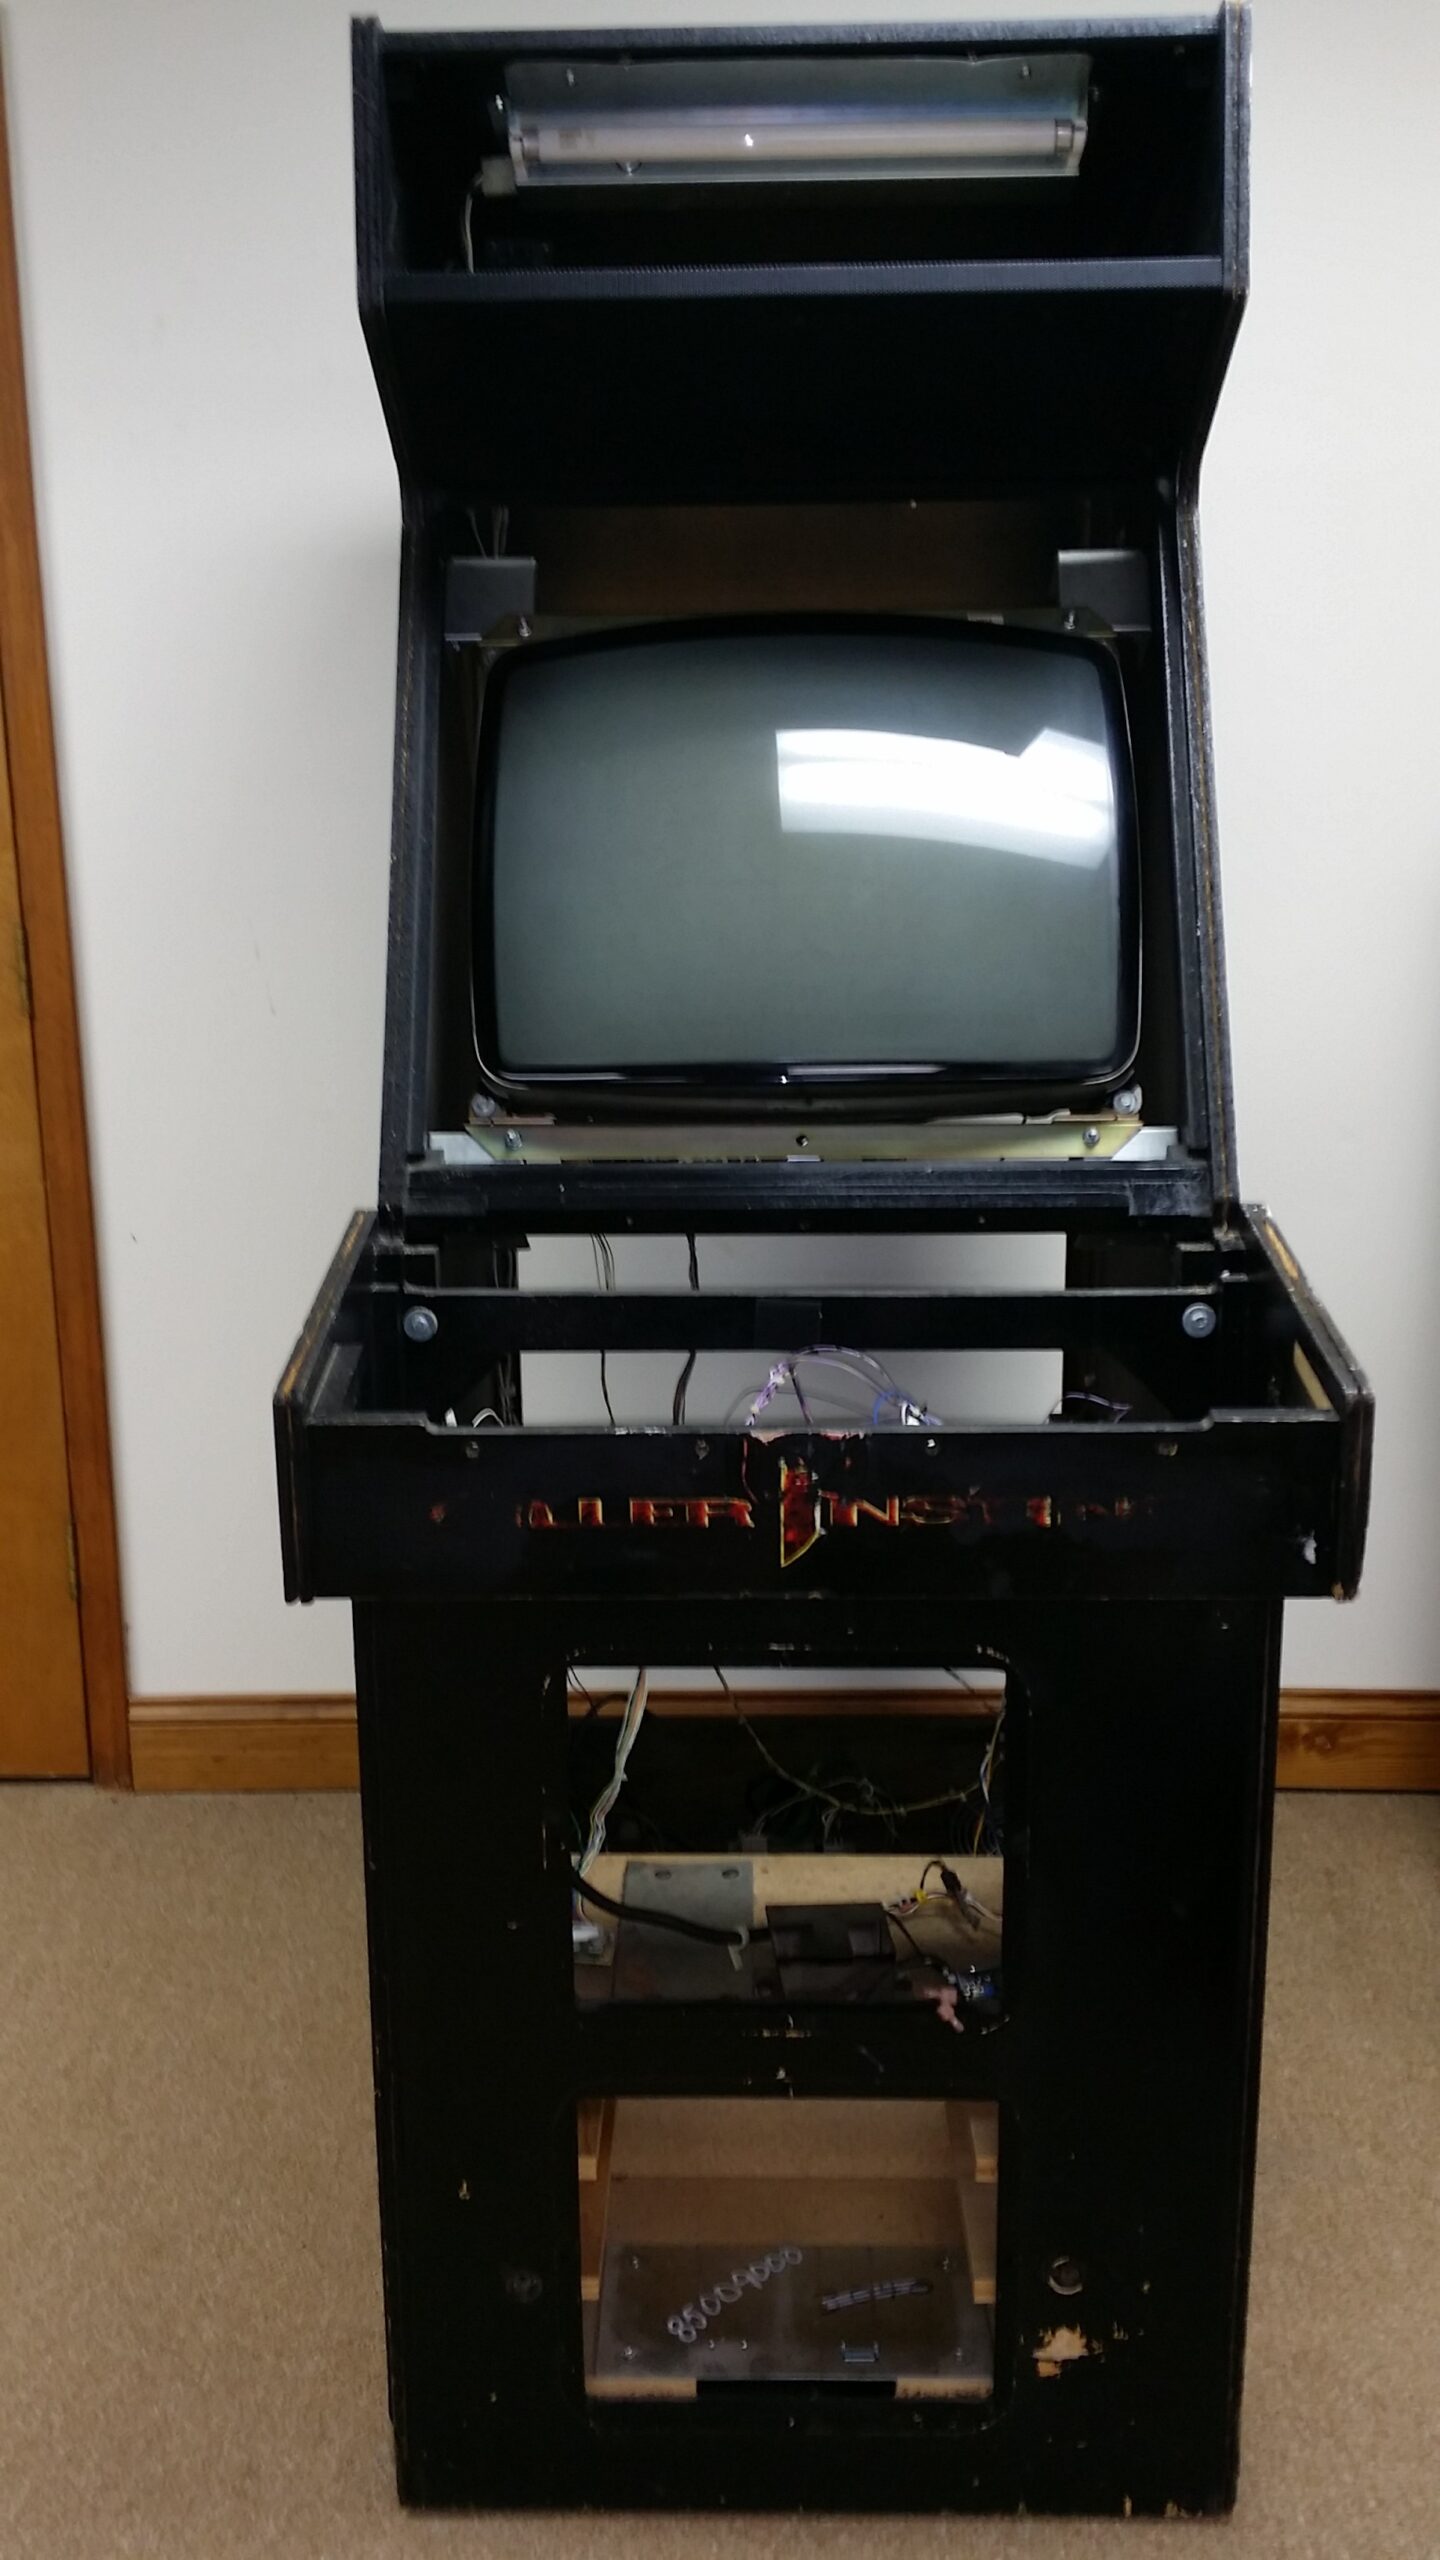
Time to restore my Killer Instinct 2 cab.
It came to me as a Tekken Tag Tournament. I got it for $75 from a Vendor in Birmingham, Alabama. Needed a power supply and after that, it worked perfectly.
I noticed it had a sticker underneath which is when I found KI2 hiding there. I tried to Citristrip off the paint but the sticker underneath had gouges which let the stripper bleed into and ruin it.
So I decided to strip it down and completely re-do it.
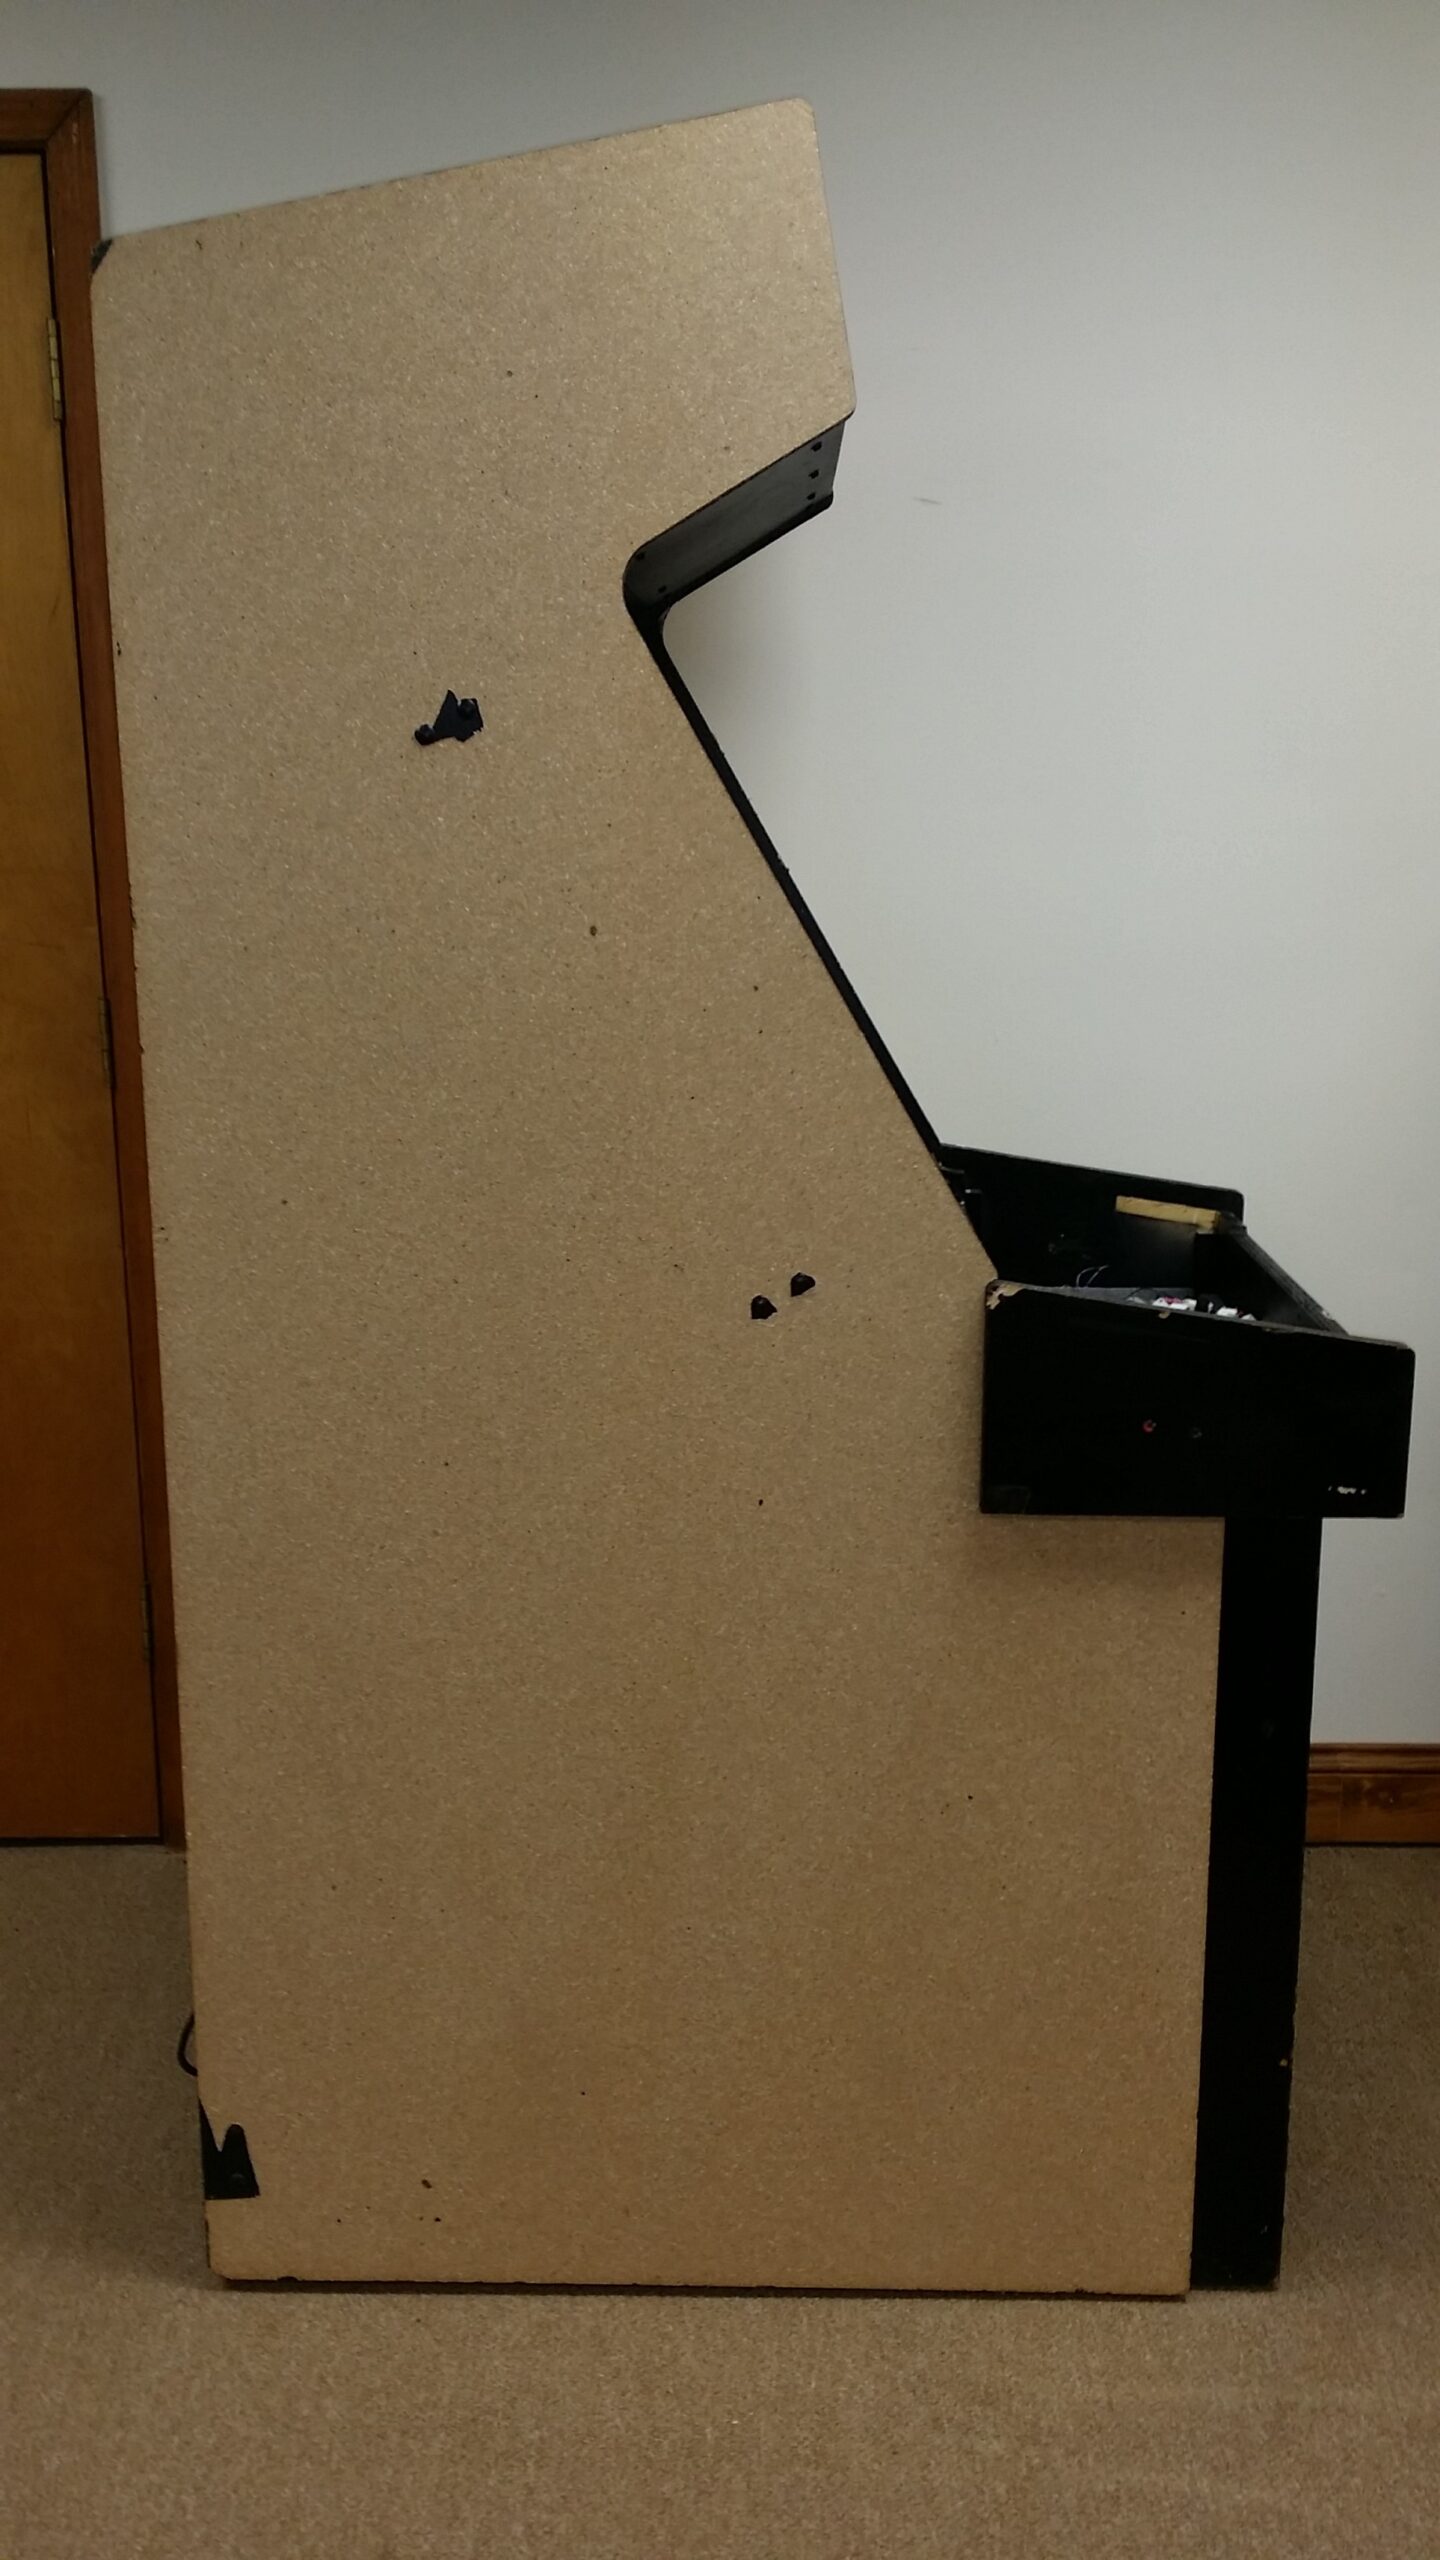
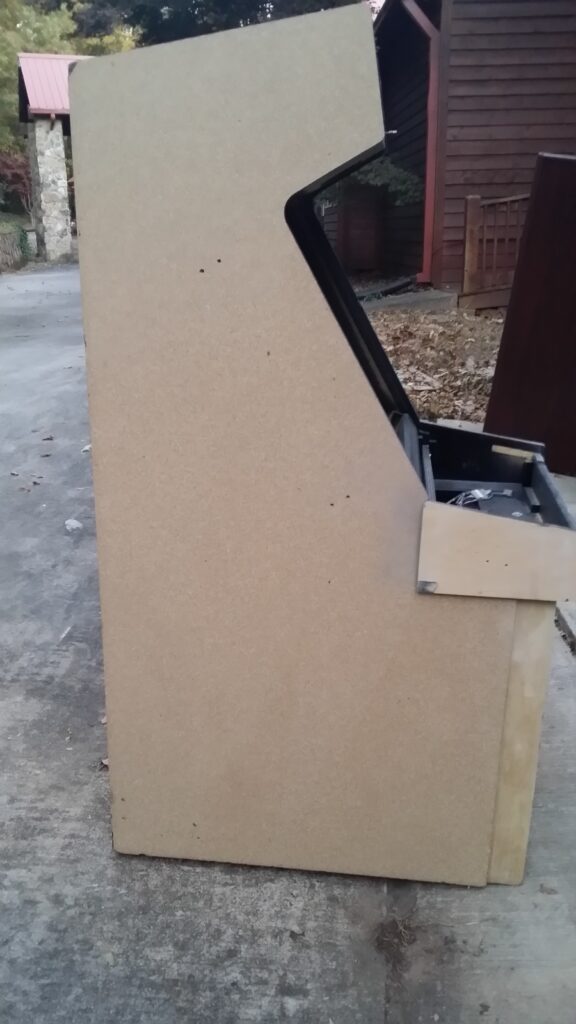
Here are the original pics :


First, we’ll strip her down.
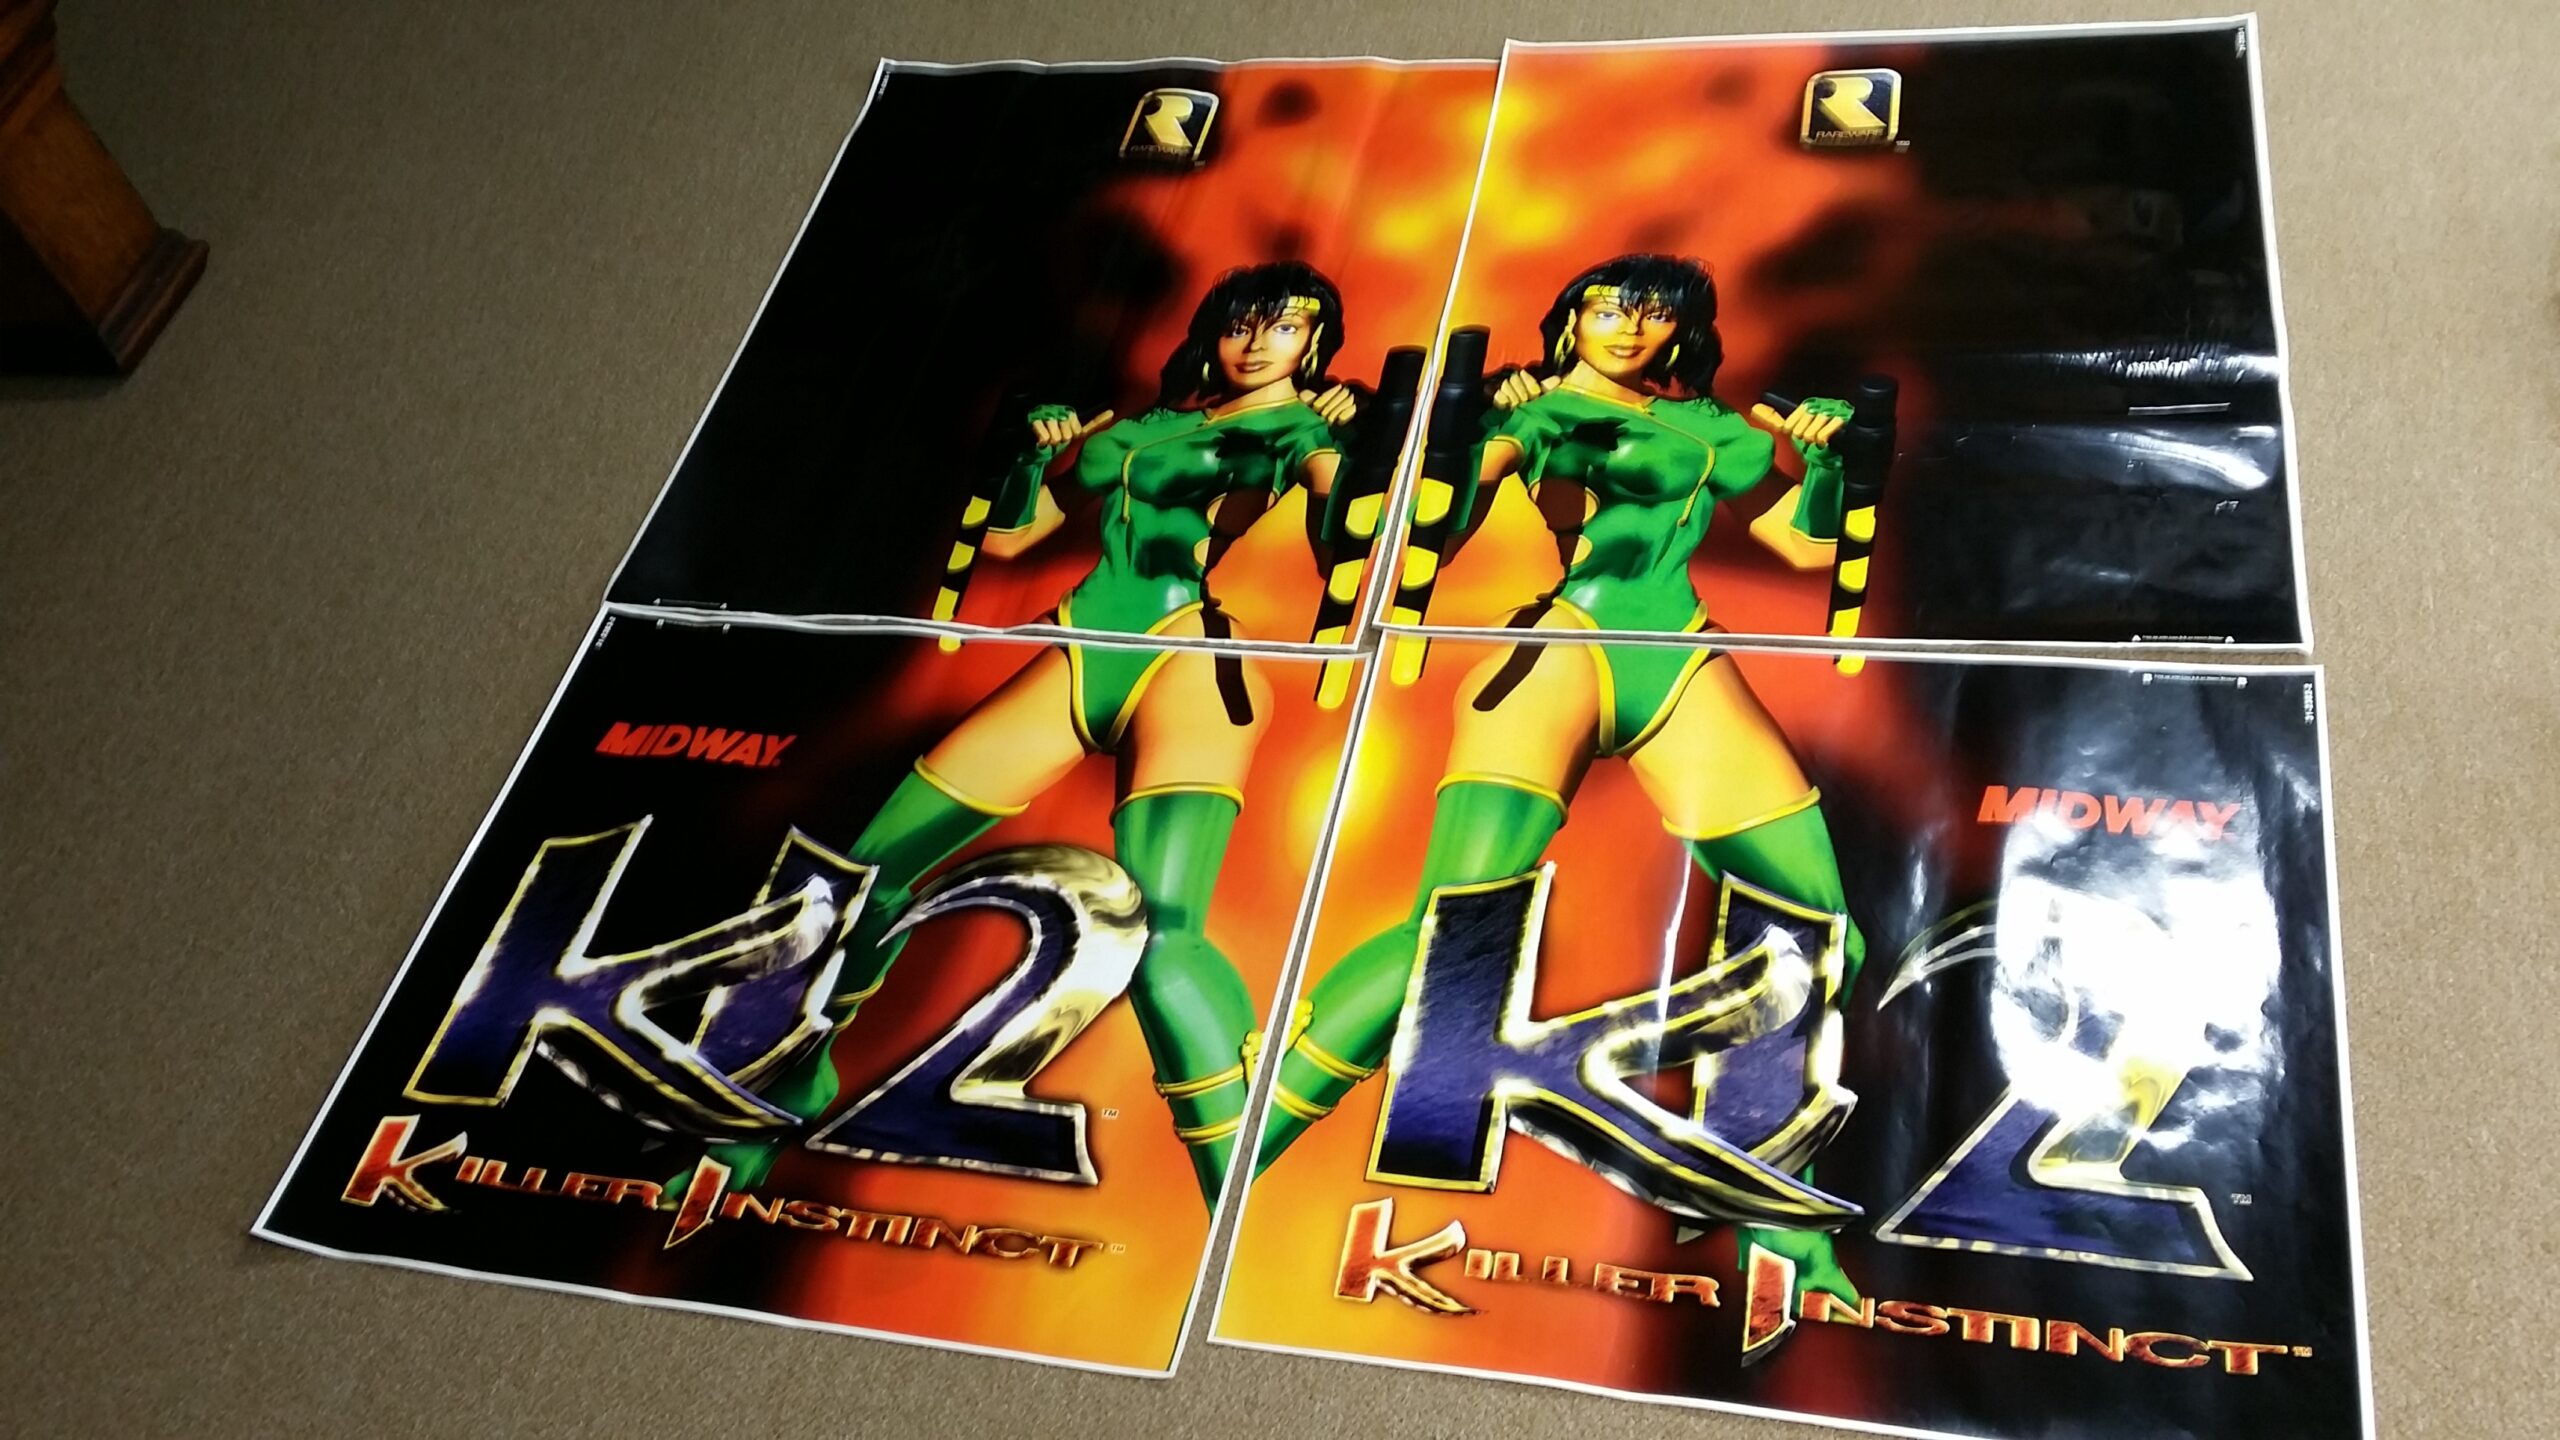
Okay here is the sideart from usamusements.com
You just have to email them and they will send you an invoice with Paypal.
It is wrinkled a little bit, so I imagine it’s going to be a little tough to put on, but I will manage.
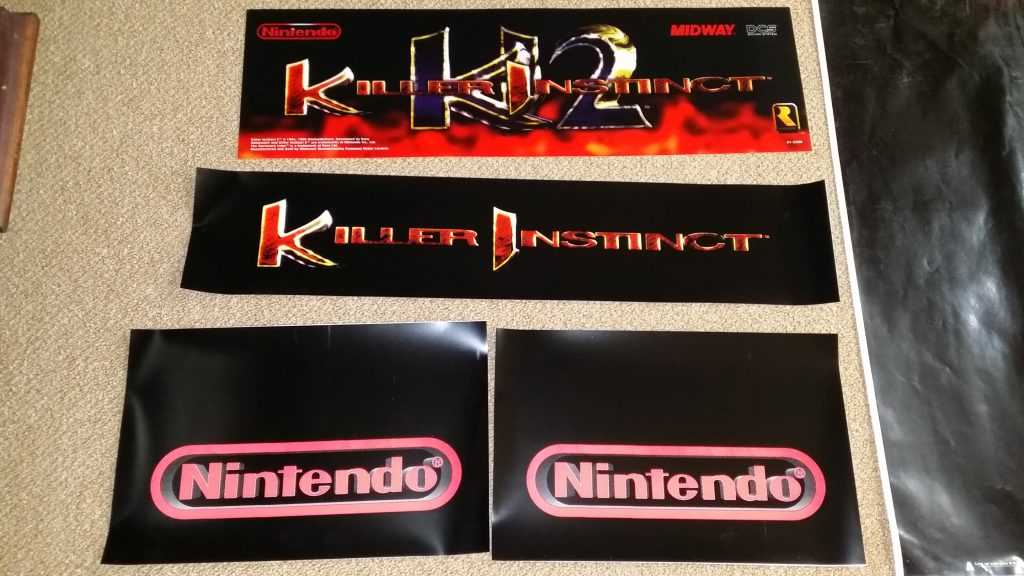
Here is the marquee and front/side cp artwork from GameOnGrafix:
I re-did the coin doors. These were insane to strip, the worst I’ve ever done. Here are the steps I tried.
1. Sandblasting…….No go. Couldn’t even get part of it stripped.
2. Wire brush……….No go. Had to push down so hard that it was eating into the metal.
3. Aircraft Stripper……….. This worked. It took 6 coats, a wire brush, and a metal scraper.
Pain in my backside these doors were. Hardest, toughest original Powdercoat I have ever seen.
But I got it off and then powder coated them back with hammer tone flat black powder coat. Then I put on new coin door entry bezels, flaps, and reject buttons from mad-amusements.
I also re-did the Control Panel. The overlay that I got was pretty wrinkled. I might buy a new one if this one won’t lay down better.
I also put on new Haap competition sticks and buttons. I have a Lexan overlay that I will be installing next.
I sanded everything down. Some of it had artwork or something underneath and was pretty hard, but my belt sander took care of it.
I also glued 2 dowels in the coin door bar holes.
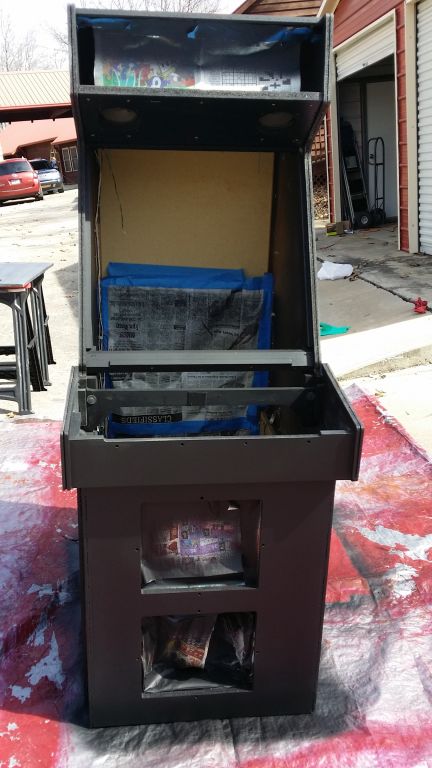
On the back above the door, there was a piece knocked out from someone prying the lock. So I removed the entire upper back and built then installed a new one.
And here is everything sanded down and ready to go.
I did re-do the CP somewhat. I added Lexan, painted the Lexan screws and re-attached them. And I smoothed out the overlay a bit.
Here’s the finished job :

I finally got a chance to work on this again. The temperature cooperated.
First I bought a new HVLP gun from Harbor Freight.
Next, I prepped the cab. 120 grit with a belt sander and then 220 grit with an orbital.
Then I sprayed the cab with a high build auto primer. High Prime Hot-Rod Black :
This was the results after one coat :


I sanded the cab with 220 grit and then 500 grit. Then I re-sprayed the cab with primer.
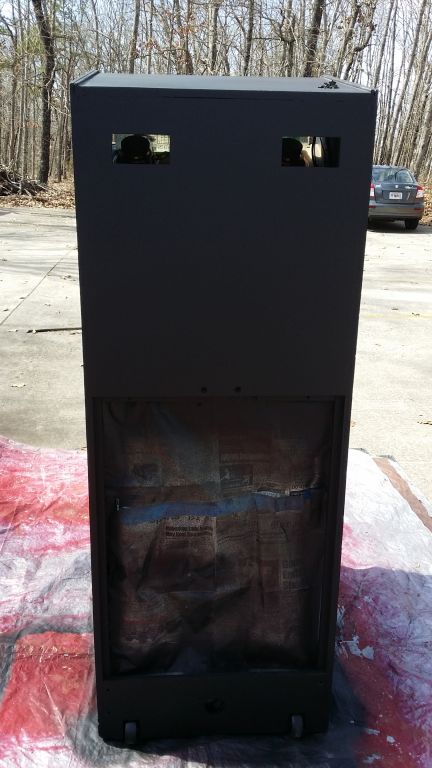
Now onto the Final coat. I used Rustoleum Satin Black Oil-based paint :
I sprayed one coat and then used 320 grit to sand the cab. I sprayed a second coat on the sides and top/back ( No need for 3 since the sides are fully covered) . I sprayed 3 coats on the front.
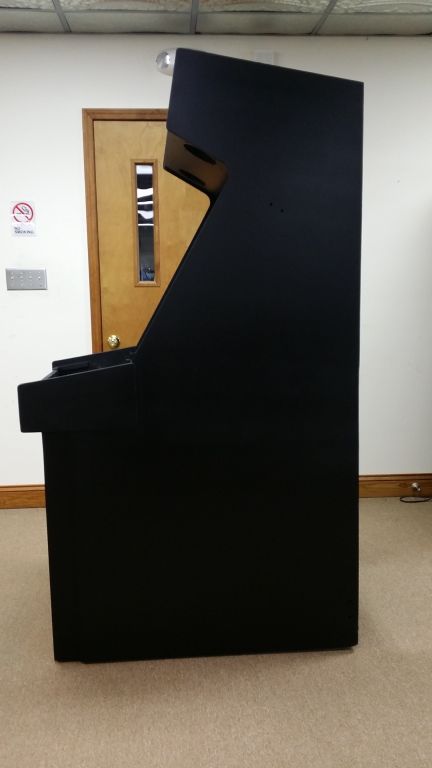
Here’s the results :


So I got the Artwork on and Coin Doors, CP, Marquee, etc.
The artwork was really tough. I used rapid tac and that made it easier. But the NOS artwork had been rolled up to long before it got to me apparently. So it had wrinkles in it where the artwork had peeled away from the backing. So at those wrinkles the adhesive had dried out.
I did the best I could but where those wrinkles were I could not get it to lay flat. But needless to say, that is nitpicking as it looks good anyway.
Here’s the pics.


