You might remember my first Gauntlet Restore :
Well, I brought it to the 2014 Southern-Fried Gameroom Expo and a Klov member wanted it and bought it.
Big Mistake!
So last year at the 2015 Southern Fried Gameroom Expo I had a chance to buy a Gauntlet cab. I bought it from a member here that lives in Atlanta. I think I paid $75 for it. It was in decent shape but needs a full restore. I’m going to try to get it done by June 9th to bring it to the 2016 Southern-Fried Gameroom Expo. Full circle!
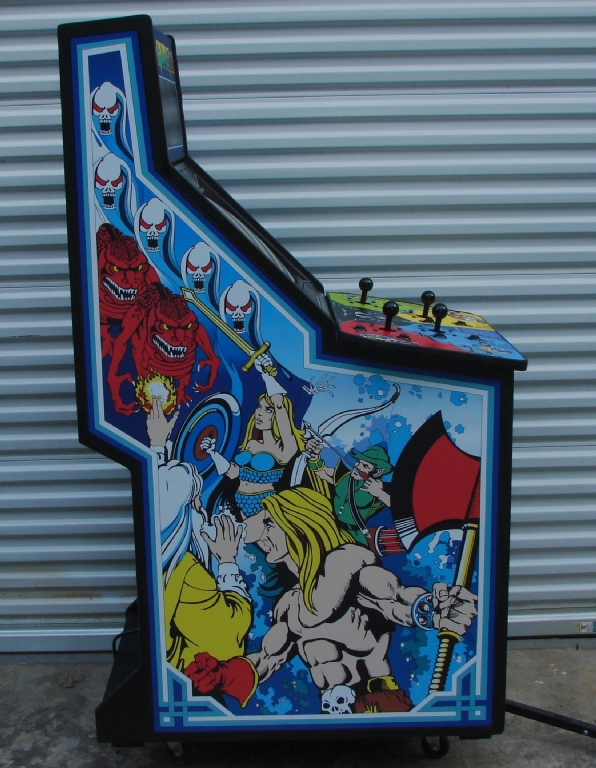
Here are some pics of it in its current condition.


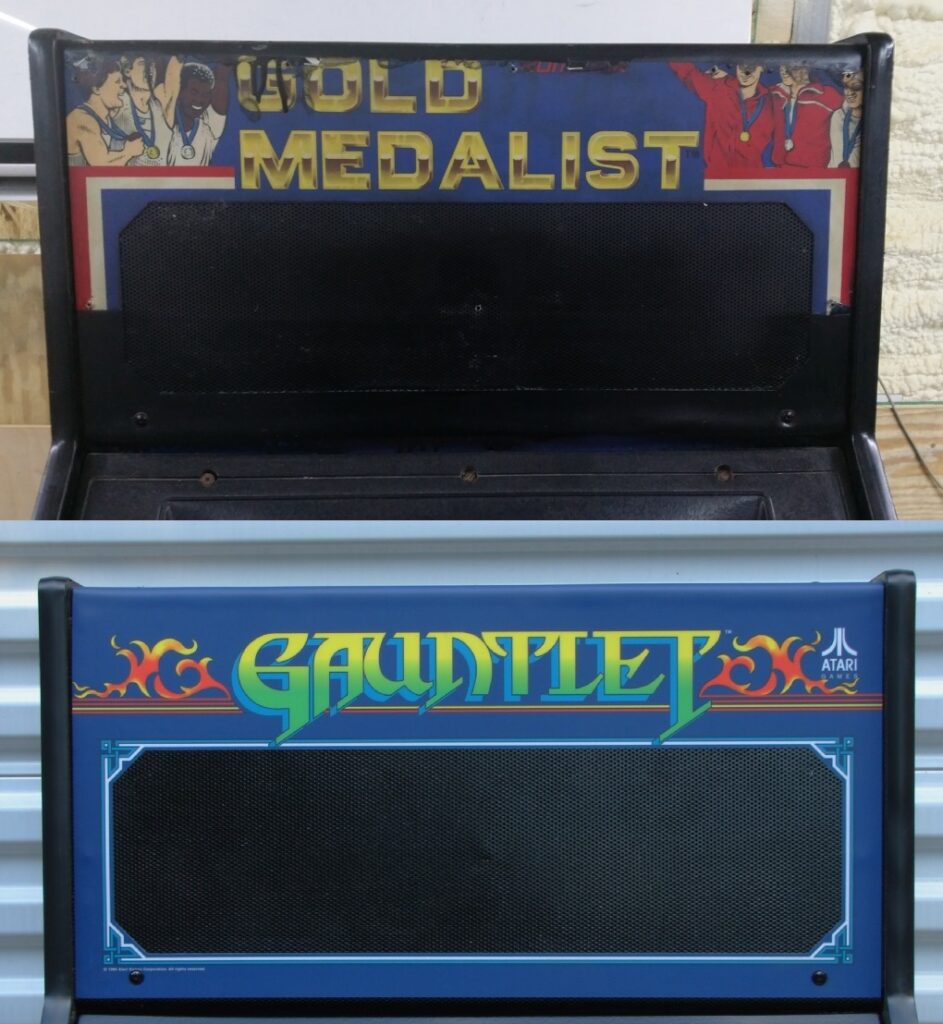
As you can see it was lately a High Impact. Previous to that it was a Gold Medalist. Prior to that a Gauntlet 2. And originally a Gauntlet.
The CP is trashed. A new wooden and metal CP will be built. The Metal CP that is on it here has holes in the wrong spot for a Gauntlet. Why fix it, I will just cut a new one.


The wiring harness is also trashed. This cabinet will have an original Gauntlet board with newer Jamma wiring.

The monitor is a G07. It is working but will need a new tube as this one has to much burn in for my taste.

So let’s get started!
First, let’s see what’s under that marquee:


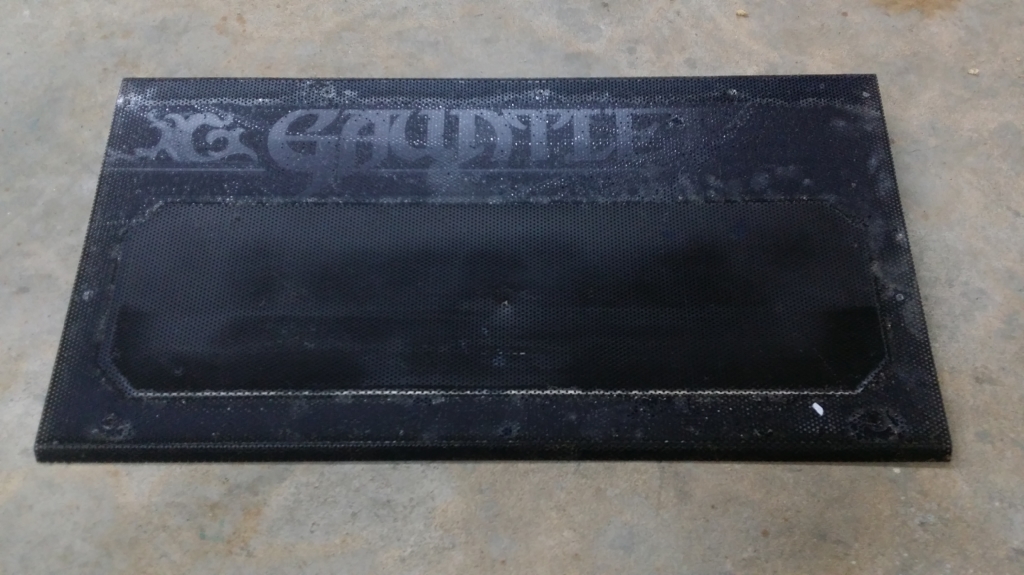
You can see the Gold Medalist, then the Gauntlet 2, then the Gauntlet Marquee. Operators to lazy to take 5 minutes to remove an old one. LOL
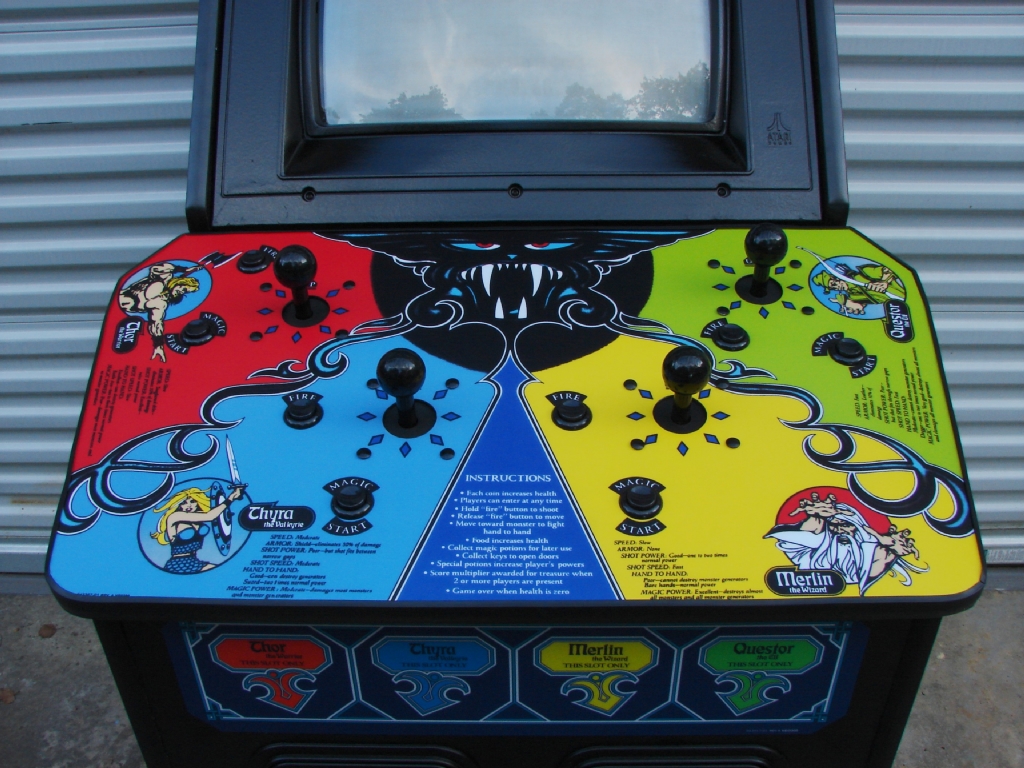
Got a chance to do some work on the Control Panel.
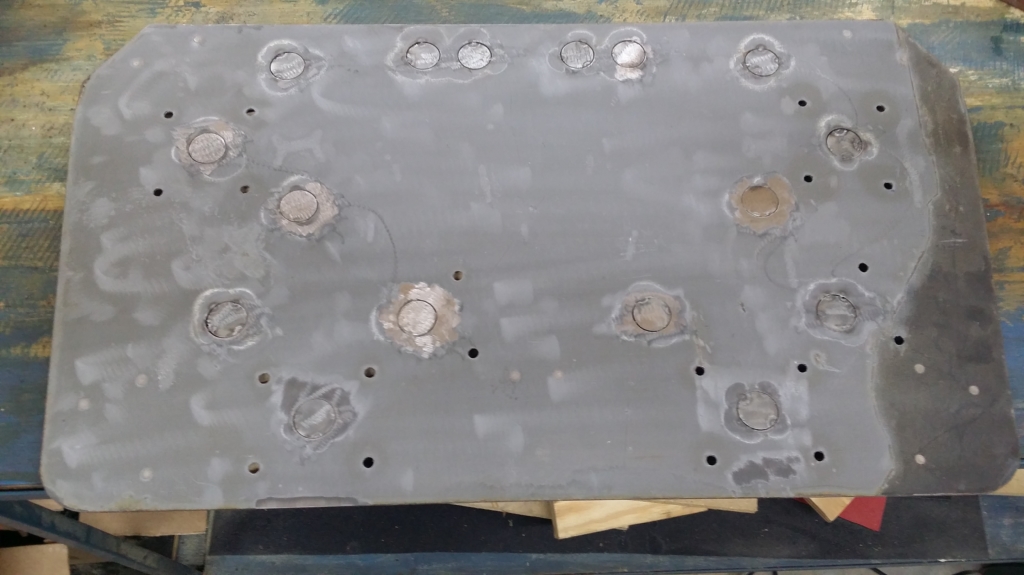
I tried to find some 16ga metal, and just my luck nobody around here had any.
So gonna have to restore. Went to the hardware store and bought 3 of these:
Popped out 16 of the larger knockouts. Then tac welded them in :
Then I covered the front with 24″ wide stainless valley flashing metal. Just used contact cement and then trimmed the edges with tin snips :

Then I cut out the wooden part of the control panel from a piece of 3/4″ Birch. I cut the outside with my table saw and also a skill saw. Then I cut the holes with my cnc machine. I also cut the t-molding groove.

Made the upper back door today. 3/4″ Black Melamine. It has a 1/2″ routed top.

Also stripped the marquee metal. It’s now ready for powder coat.

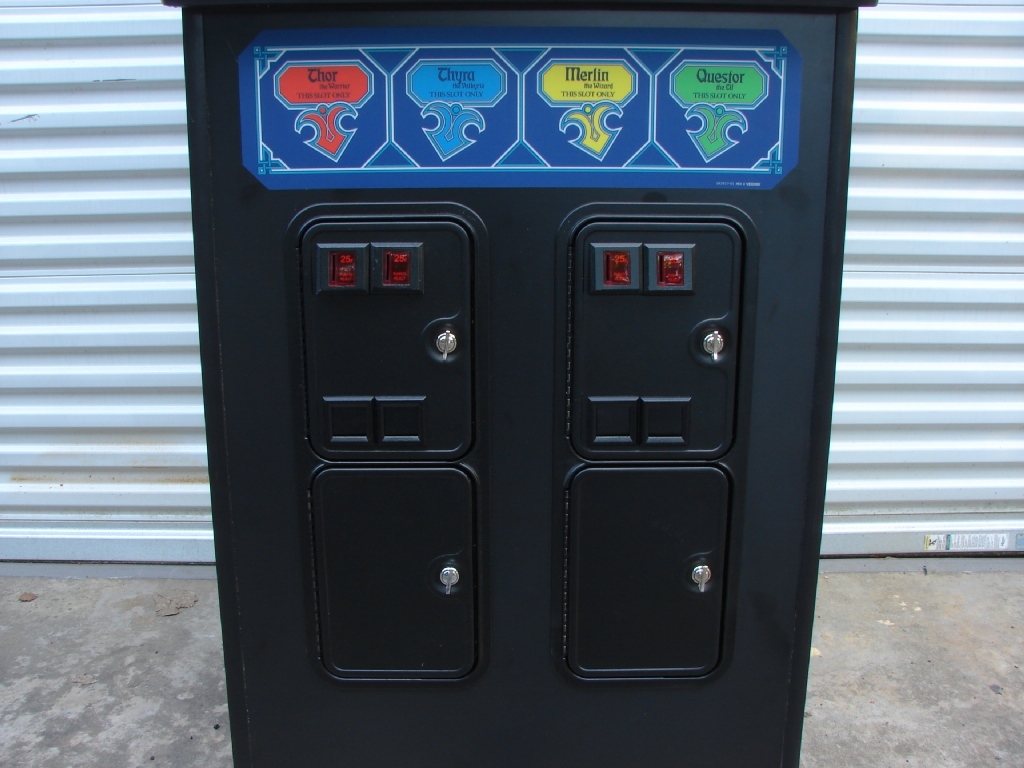
I also stripped the coin doors. These CoinCo coin doors that Atari used have the toughest powder coat of ANY coin doors I’ve stripped. I has to use an industrial marine paint stripper and then sandblast what was leftover. It was tough. But they are now ready for powder coating.

I also cleaned and painted the coin return bezels and flaps.

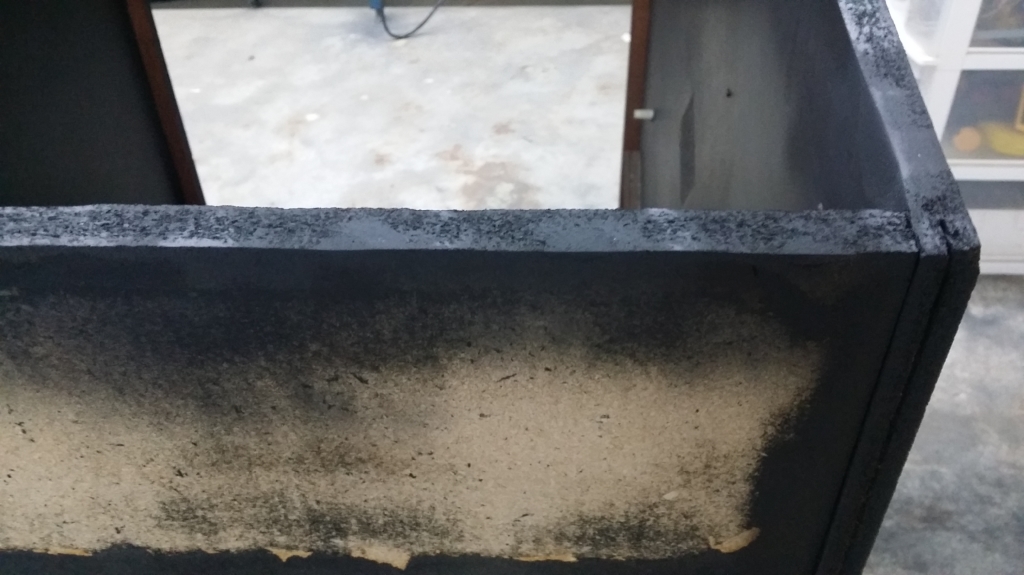
Next I had to repair the top of the cabinet where the control panel sits. It was all torn up from the bolts on the crappy control panel that was previously installed.


I applied Bondo, then sanded and painted. Ready for laminate now


What a bunch of parts looks like after you tumble them in a tumbler with walnut shells and Novus 2 for 3 days.

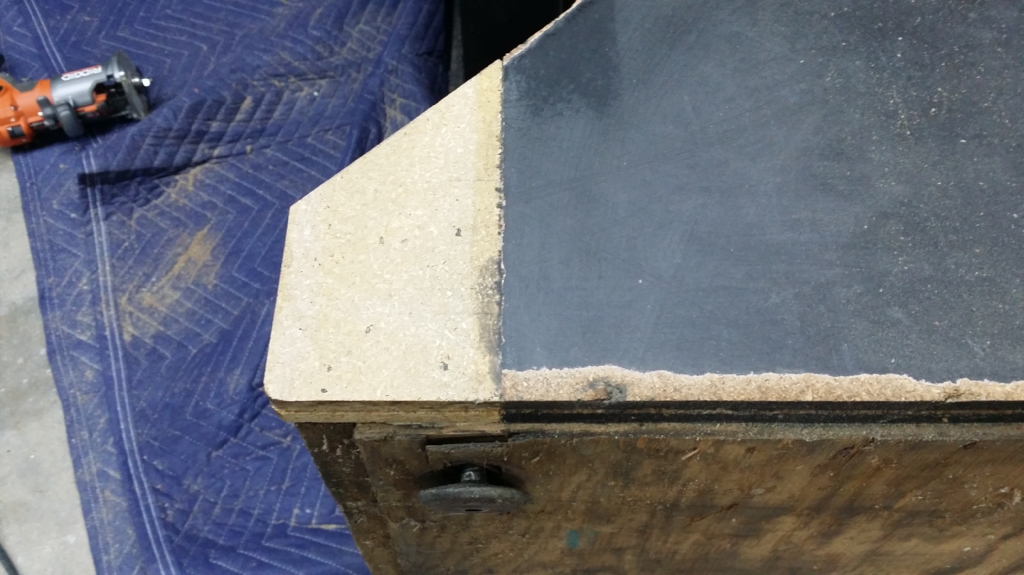
What a terrible corner repair looks like.

I cut it off square with a skill saw.

Then I cut a new piece shaped the same as the opposite side. I used a biscuit joiner and then clamped and nailed it on. This is what a proper repair looks like.

And here it is with the corner rounded and t-molding groove cut.
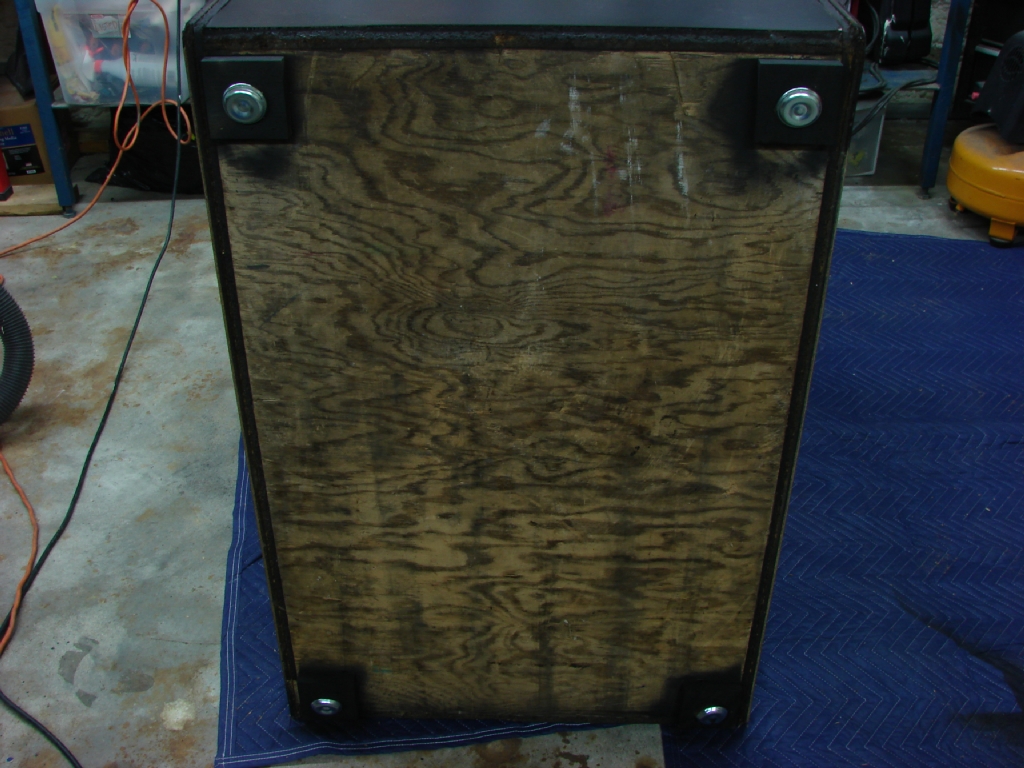
2 of the 4 leg levelers were missing and the t-nuts ripped out.


So using 3/4″ plywood I cut 3″x3″ blocks. Then I drilled a hole in the center for the t-nut. I then used a 1″ Forstner bit to countersink the hole for the t-nut.


I glued and stapled the 3″ blocks to the bottom. Then I painted them and attached the leg levelers.

Now it was time to restore my Atari logo joysticks. Here’s how to do it.
Start off with a dirty and sloppy Atari Logo Joystick.

Now on the bottom remove the 4 black screws.

After they come out you can remove the bottom plate, the actuator, and the lower housing.

You are left with the joystick with parts attached to it, and the upper housing and dust washer.

Now you want to put that in a clamp or vice.

Now you see the large metal pin sticking out of the pivot ball. Remove that first. The best thing to use is a pin remover from a set.
But if you don’t have that, this pin can be removed with a hammer and a bolt.
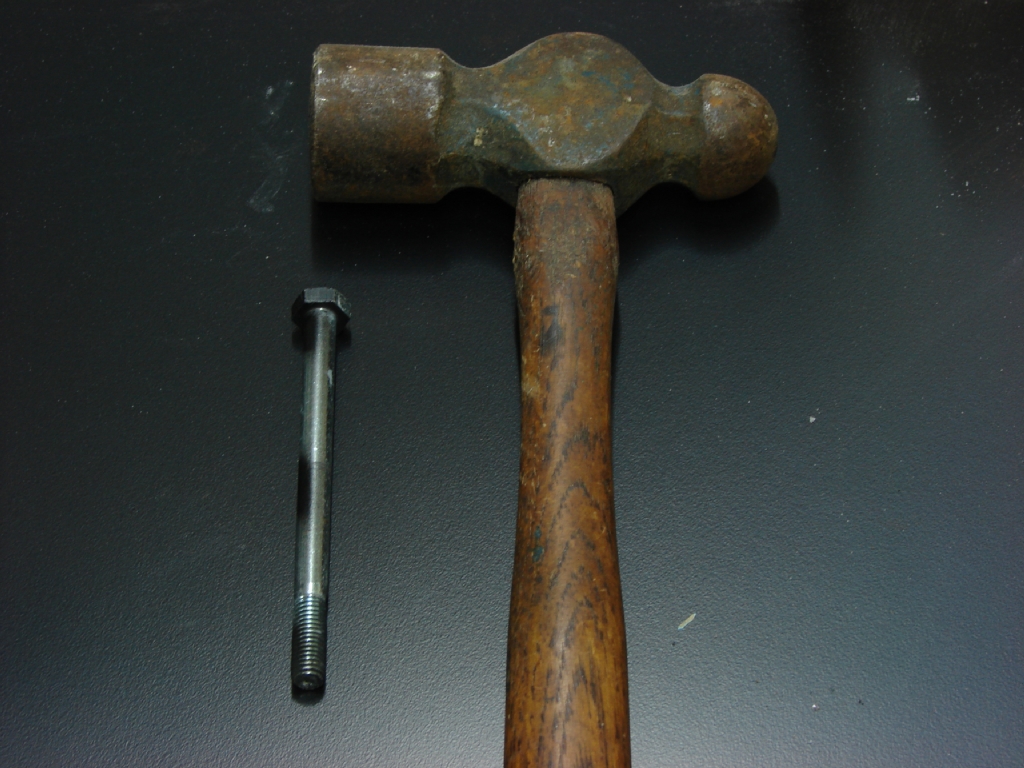
That will get it part way out. Then I use a nail or broken bit that will fit in the hole and punch it the rest of the way out.

Now you need to get the little pin out.

I Just use el-cheapo 1/16″ drill bits. I snap the drilling end off and use the other end. Hold it with some vice grips and hit it with a hammer and the little pin will fall out.
Leaving you with a joystick that can be dis-assembled.

Now the two parts you want to replace are the pivot ball and the plunger. And in this pic you can see why. They wear out terribly.

But first, clean those other parts up real good. I use brake cleaner and a toothbrush.

When you’re done you’ll have some nice clean ready to re-assemble parts.

But one last thing. As you are re-assembling them, be sure to put nyogel grease on all parts that will be touching each other. So the bottom of the plunger where it meets the upper housing. The top of the pivot ball where it meets the upper housing. And the bottom of the pivot ball where it meets the lower housing.

When re-assembling, the pins can be put in with a hammer. No need for special tools.
And now you have nice good-looking and great feeling Atari logo joysticks!
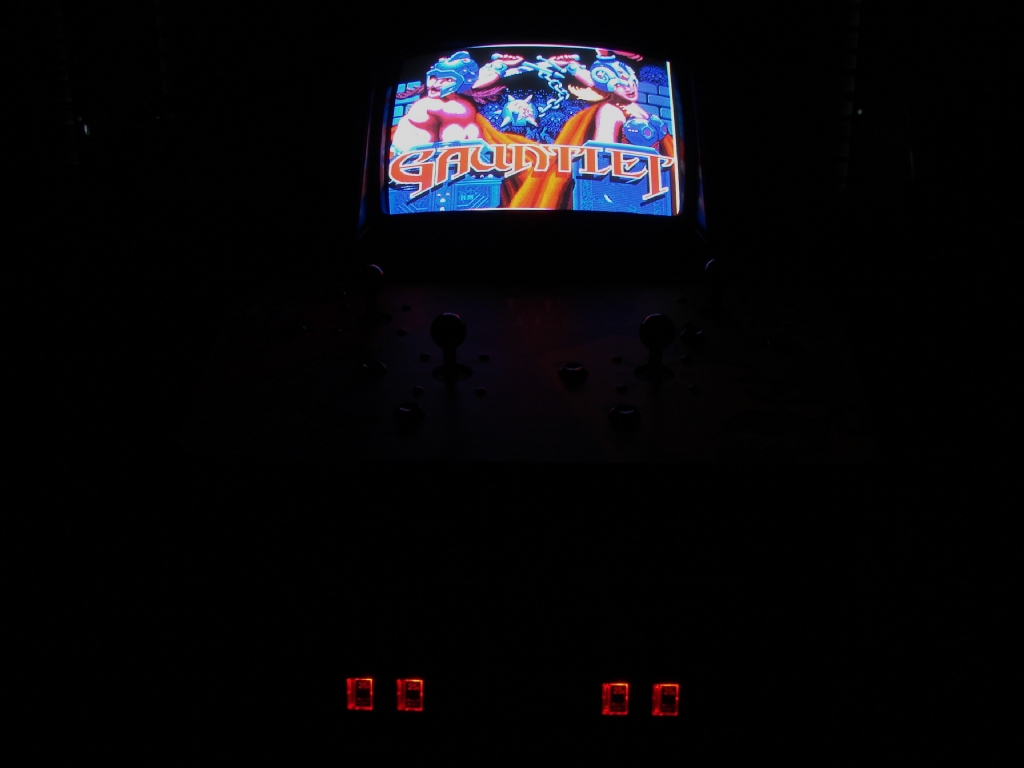
Finished and done!


A few pics of the inside.
I used a Jamma Harness and a fingerboard to hook this to the Switcher.
Then I bought connectors and pins and made the connectors for the Gauntlet board.

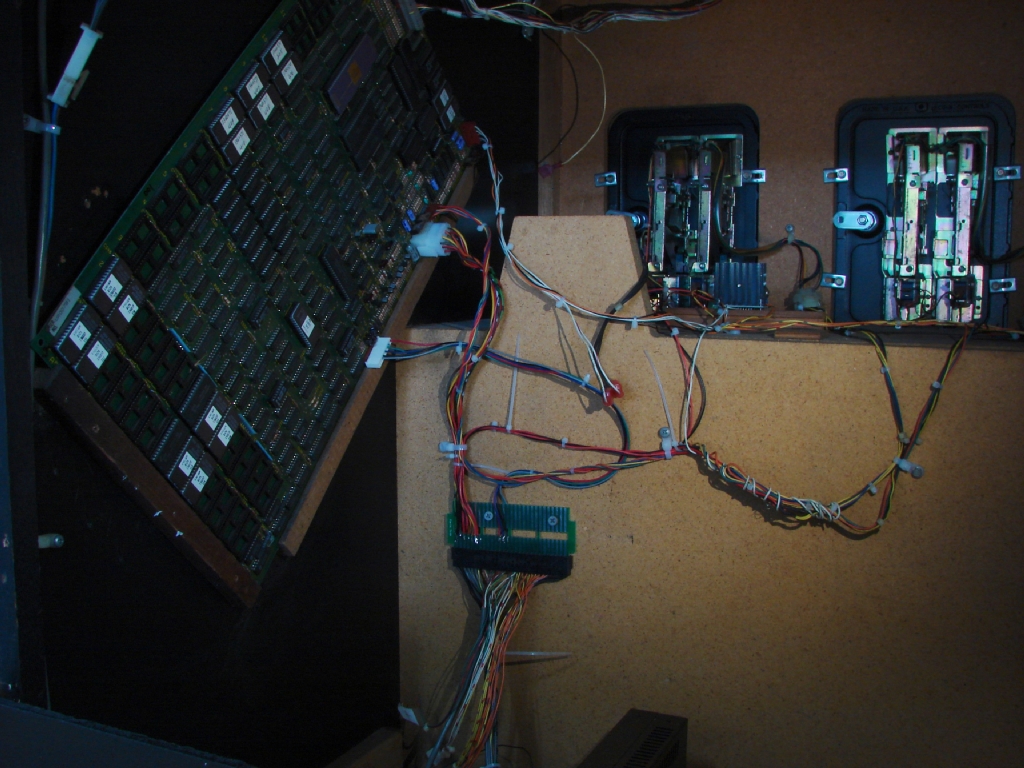
I used a stereo audio amplifier for the audio.

Some before/after pics: